 The Good Sign Company
Tabletop acrylic block guide
Best acrylic blocks for photo and QR code signs
Choose a solid acrylic block when a compact print deserves a self-standing, edge-to-edge presentation and the message will not change often. Choose a replaceable holder when updates matter more than the block look. The right block must match the insert dimensions and orientation, sit within the measured tabletop footprint, and remain readable in the room’s actual light.
Disclosure: As an Amazon Associate, we may earn from qualifying purchases and approved partner referrals.
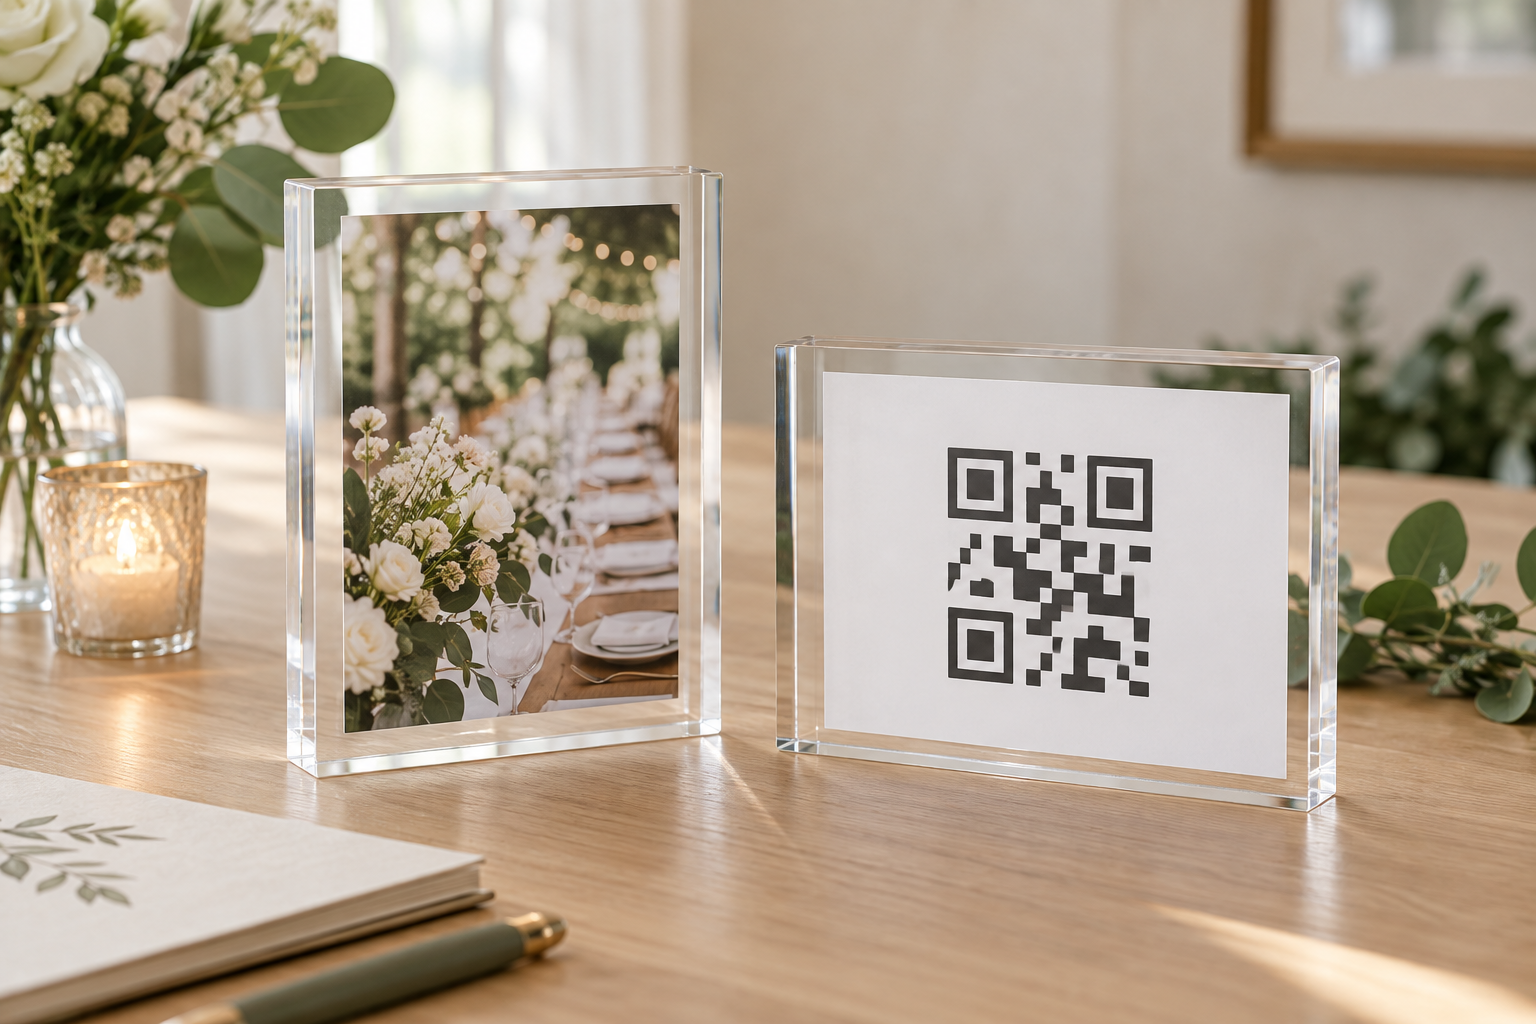
Match the block to the printed job
Start with the final print size, orientation, and replacement plan. Listings may use “block” for magnetic sandwich frames, slide-in formats, or permanently printed pieces, so confirm how the image is actually held before buying.
Best format by display job
| Use | Best starting format | Verify before buying |
|---|---|---|
| One portrait photograph | Portrait magnetic or sandwich block | Exact insert size, border, viewing face, and opening method |
| Landscape photo or short message | Landscape block with a wide stable base | Outer width, table depth, orientation, and edge reflections |
| QR prompt with occasional updates | Replaceable block with easy access | Final printed-code scan test, glare, loading clearance, and destination ownership |
| Frequently changed counter message | Usually a slide-in holder instead | Update speed, spare inserts, and hand clearance |
How we compare acrylic blocks
This is a category framework, not hands-on testing or a ranking of named products. Compare current listings against the same practical checks:
- Insert method: determine whether panels separate magnetically, a print slides into a slot, or the graphic is permanently applied. “Acrylic block” does not describe one universal construction.
- Visible and outer dimensions: confirm the supported print size and the full block size. A border, bevel, or magnetic edge can change the usable image area.
- Orientation: buy for the final portrait, landscape, or square layout. Do not assume a block can rotate safely unless the maker shows both orientations.
- Viewing angle and reflections: test a paper mockup where the block will sit, then check the real item from the normal approach under windows and overhead lighting.
- Footprint and weight: measure the complete base area and plan a clear place to set it during insert changes. Weight alone does not prove resistance to bumps or suitability for a busy route.
- Care: follow the maker’s cleaning directions for the acrylic and the printed insert. Avoid assuming one cleaner suits every plastic, coating, ink, and nearby tabletop.
For photos, let the image determine the block
Crop the final photograph before selecting a frame. Portrait faces can feel cramped in a landscape block, while a wide event scene loses detail when forced into a narrow crop. Print one sample at the listed insert dimensions and place a paper rectangle around it to represent the acrylic border.
Clear faces and polished edges can add depth, but they can also reflect bright windows, candles, and ceiling fixtures. View the mockup from where guests will stand, not only from directly in front. If the photograph will change with the season or event, favor a panel that opens without tools and confirm that replacement prints are easy to produce.
For QR prompts, test the complete physical sign
A product listing cannot guarantee that your code will scan. Generate the code for a destination you control, label what opens in visible words, preserve the quiet margin around the code, and print at final size. Place that exact print inside the selected block and test it with multiple current phones from the real approach under normal daytime and evening light.
Reflections, a deep clear face, a small code, low contrast, decorative interference, and an awkward counter angle can all change the result. Keep essential information available without a phone, and assign someone to recheck the physical sign after any domain, redirect, menu, booking, or campaign change. The QR code counter-sign guide provides the fuller destination and testing framework.
When a solid block is worth the extra visual weight
- A compact keepsake photo or short message will stay on display for months rather than days.
- The print size is known and the thick clear edge supports the intended visual style.
- A low, self-standing form fits a shelf, welcome table, reception desk, or gift table better than a rear easel leg.
- The owner can accept fingerprints and has a practical cleaning and storage routine.
When to skip an acrylic block
- The insert changes daily or weekly; a top-loading or side-loading holder will usually make updates simpler.
- The QR destination, call to action, or brand artwork is still being tested. Prototype in a replaceable holder first.
- Strong reflections cross the important part of the image or code and repositioning does not solve it.
- The sign must be read over merchandise, flowers, monitors, or a crowd; a taller stand may provide a better sightline.
- The table is unstable, outdoors, or in a busy circulation path. A compact indoor block is not automatically a weather, wind, impact, or crowd-control solution.
Plan one block before ordering a set
- Finish the longest photo caption or QR action label.
- Print the artwork at final size and confirm the crop and margins.
- Mark the full outer block dimensions on the actual table.
- Check the approach angle, reflections, and nearby objects.
- Rehearse opening, aligning, cleaning, packing, and replacing the insert.
- For a QR sign, scan the completed physical piece with several devices and verify the destination and fallback.
Bottom line
An acrylic block is strongest as a compact, self-standing display for a stable photo or short sign. Buy by the exact insert method, visible area, orientation, outer footprint, and care guidance—not by thickness or transparency alone. For a QR prompt, treat the block as only one part of the system: the printed code, lighting, viewing position, destination, testing, and non-phone fallback still determine whether the sign helps.
Compare the block with an acrylic card holder or wire stand, build a larger story with the photo display sign guide, or browse tabletop sign stands when height and replaceable messages matter more.