Indoor Acrylic Sign Care Guide
Best cleaning supplies for acrylic signs.
The safest shopping list for an indoor acrylic sign is usually short: a clean, soft cloth plus only the liquid care method allowed by the sign maker. Start with the sign's instructions because printed faces, applied vinyl, edge lighting, coatings, and attached hardware can change what may be cleaned and how.
Disclosure: As an Amazon Associate, we may earn from qualifying purchases and approved partner referrals.
Category route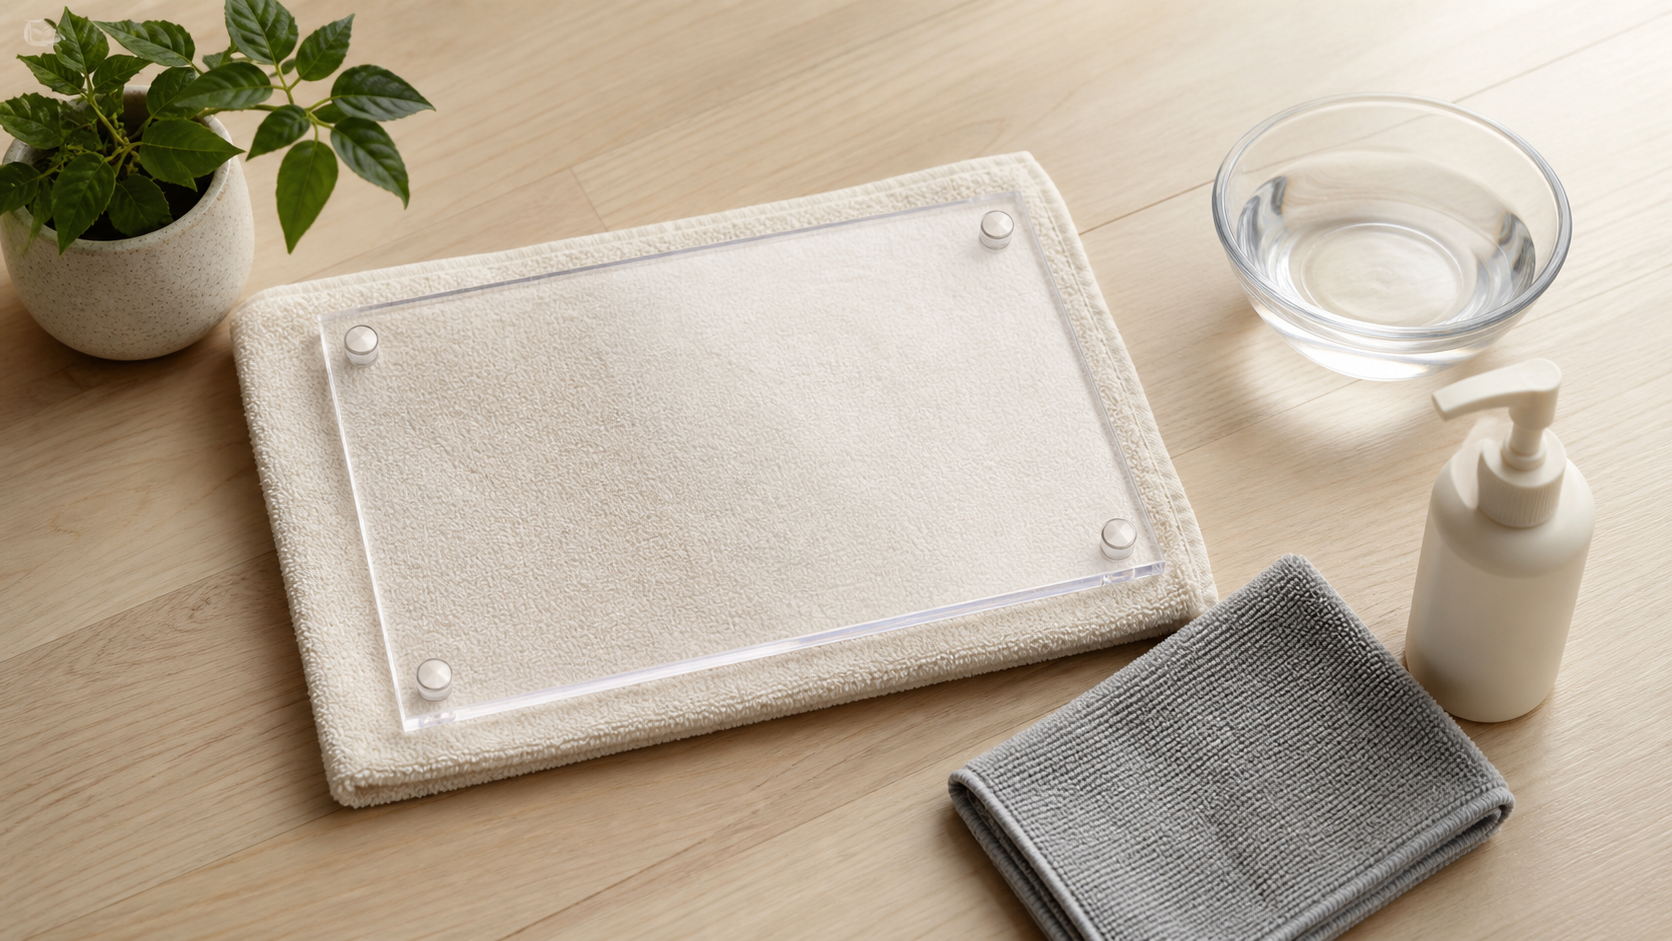
Best starting route
Choose clean, non-abrasive basics before specialty products.
Compare cloths by softness, clean edges, washable construction, and a size that can be folded to expose a fresh face. Before using any liquid, verify it against the current care instructions for the complete sign—not acrylic in general.
Plan the whole material decision: compare wood versus acrylic signs, or use the modern acrylic sign guide if the sign itself is still undecided.
How we compare cleaning supplies for acrylic signs
This is a category framework, not hands-on testing or a ranking of named products. The sign maker's current care instructions take priority over general shopping advice.
- Whole-sign compatibility: check instructions for the acrylic, printing, vinyl, coating, hardware, and any lighting components.
- Low-friction dust removal: loose grit should be lifted or gently moved before the surface is wiped. Rubbing dust into the face can create avoidable marks.
- Cloth condition: use a freshly cleaned cloth with no trapped grit, fabric-softener residue, rough label, or dirty edge.
- Liquid control: if damp cleaning is permitted, apply only as directed and avoid letting liquid collect at edges, holes, layered graphics, hardware, or powered parts.
- Small-area trial: when instructions permit, start at an inconspicuous edge and stop if the appearance changes.
- Storage: keep sign-care cloths separate from workshop, kitchen, and automotive cloths that may carry grit or chemicals.
Best supply type by cleaning job
Clean microfiber cloth: best general starting tool
A soft, freshly washed cloth offers a controlled way to lift light dust or carry a maker-approved damp method. Fold it into quarters and change faces rather than continuing with a soiled section.
Hand-squeeze air blower: best for loose edge dust
A simple manual blower can move loose particles from corners and hardware without dragging a cloth through them. Keep the nozzle from touching the sign and do not substitute high-pressure shop air.
Plain water and mild soap: only when instructions allow
Some care instructions may permit a mild soap-and-water method; others may differ because of graphics, coatings, or assembly. Verify the complete sign's guidance and avoid turning a general suggestion into a universal recipe.
A practical cleaning sequence
- Turn off and unplug a lighted sign if its instructions require it, and let the assembly reach the condition specified for care.
- Move the sign only if its mounting and maker instructions make removal appropriate. Otherwise protect the wall and nearby surfaces.
- Inspect for loose grit. Use a maker-approved dusting method before wiping.
- Fold a clean cloth so seams and labels stay away from the face.
- Use the permitted dry or damp method with light passes; do not scrub one spot repeatedly.
- Keep moisture away from openings and electrical parts, and finish or dry only as the maker directs.
Acrylic polish, scratch remover, solvent, disinfectant, glass cleaner, paper towel, or powered buffer should not be treated as a default. Use a specialty product only when the sign maker identifies it as compatible with the exact surface and finish.
Compare the sign before choosing the supply
- Plain clear or colored panel: confirm whether the surface has an unseen coating before assuming bare-sheet guidance applies.
- Printed face or applied lettering: identify which side carries the graphic and follow the supplier's guidance for that layer.
- Edge-lit or powered sign: care instructions for the full assembly matter; keep liquid and cloths away from powered components unless explicitly directed.
- Standoff-mounted sign: dust can gather around caps and holes. Do not loosen hardware merely for routine cleaning unless the installation instructions call for it.
- Unknown or vintage sign: pause before using liquid or chemicals. A dry, low-contact approach and maker guidance are more sensible than experimenting.
Who should skip a general cleaning kit?
- Skip generic advice when the sign maker supplies a specific care kit or method.
- Skip liquid cleaning when the instructions prohibit it or the sign has unprotected electrical parts.
- Skip household glass cleaners, solvents, abrasive pads, melamine foam, paper products, or scratch-removal compounds unless the maker explicitly approves the exact use.
- Skip cleaning a mounted sign when reaching it safely or supporting it properly is uncertain.
- Skip DIY scratch repair, polishing, or refinishing when the finish, print, or coating is unknown.
- Skip this indoor decor framework for exterior, regulated, electrical-service, or code-sensitive signage.
The practical bottom line
Buy fewer supplies and verify them better. A dedicated clean microfiber cloth and a gentle way to remove loose dust cover the starting jobs; any liquid or specialty treatment should earn its place by matching the complete sign's current care instructions.
For adjacent decisions, see edge-lit acrylic signs for desks and shelves or the sign mounting supplies guide.
 The Good Sign Company