 The Good Sign Company
Indoor Sign Layout Tool Guide
Best levels and layout tools for hanging indoor signs
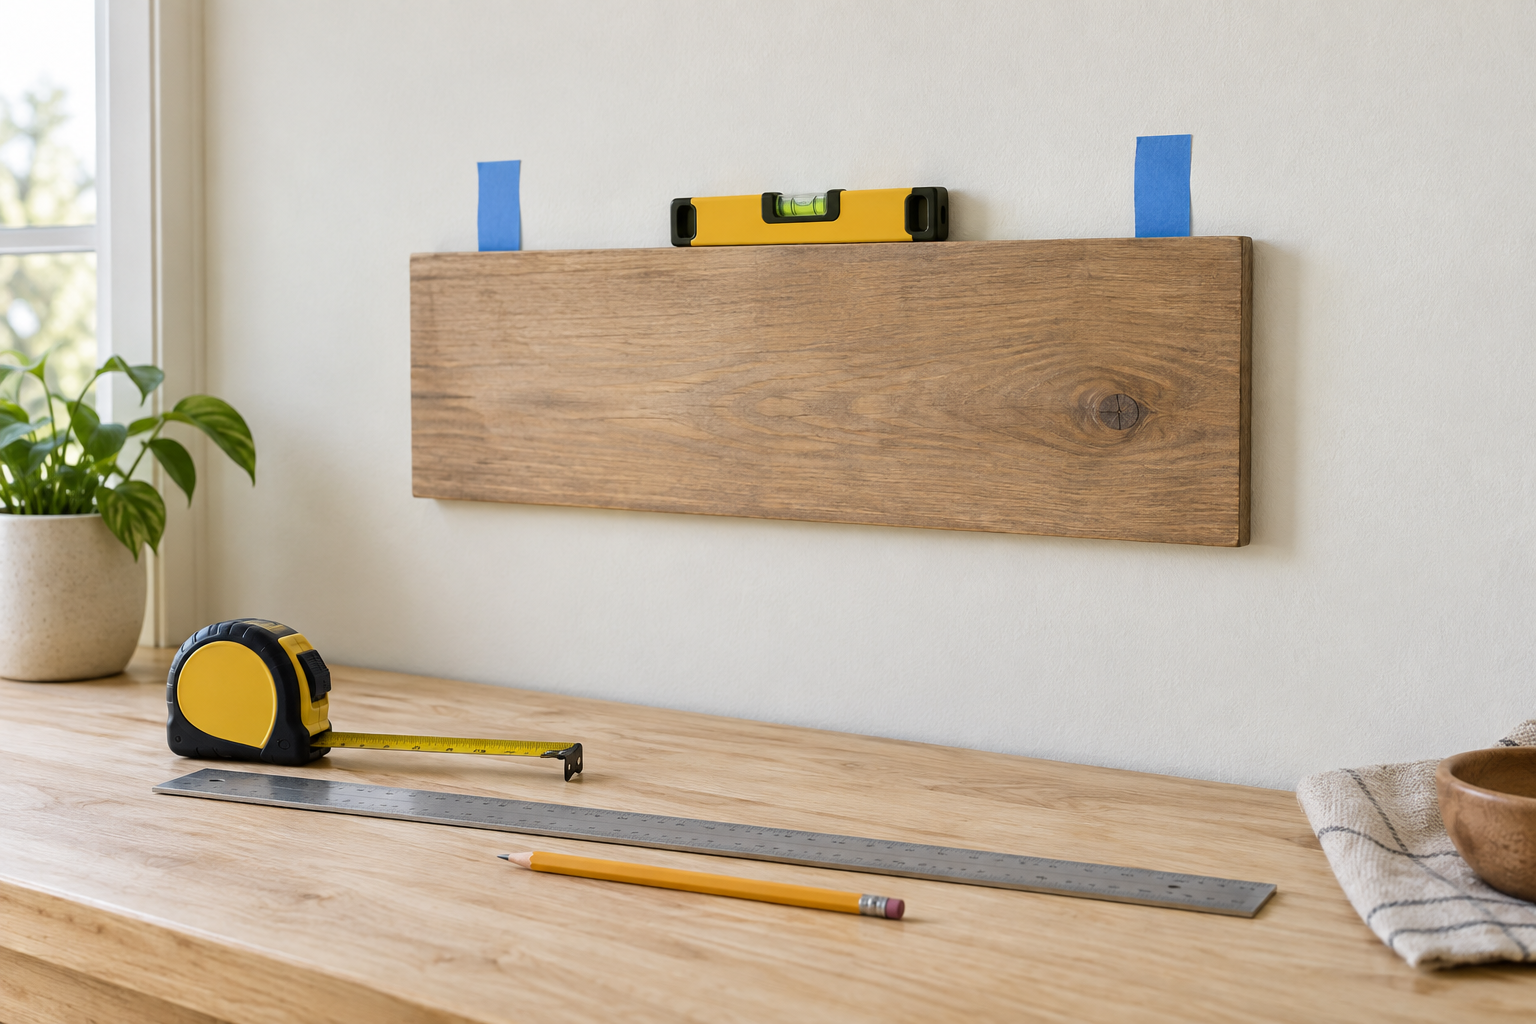
A compact bubble level, tape measure, straightedge, removable layout tape, and suitable marking tool cover most simple indoor sign layouts. Choose the tool set around the sign's real width, mounting-point geometry, wall finish, and the number of pieces you must align—not around the longest or most elaborate tool in the aisle.
Disclosure: As an Amazon Associate, we may earn from qualifying purchases and approved partner referrals.
Category shopping route
Build a layout kit around the sign and wall.
Check level length, vial visibility, measuring scale, straightedge length, mounting-point transfer method, marking guidance, and the tool maker's calibration or use instructions. Layout tools help establish position; they do not verify the wall, fasteners, hidden services, or safe mounting capacity.
The short answer
- Choose a compact spirit level for one small or medium rigid sign when you can reference a straight edge on the sign or a temporary layout line.
- Choose a longer box level or straightedge when the sign spans a wider section of wall and you need to connect distant reference marks.
- Choose a picture-hanging transfer tool or template when two mounting points must move from the back of the sign to the wall without repeated arithmetic.
- Consider a laser level for several pieces, a long baseline, or repeated office installations—only after checking its documented range, setup, calibration check, and surface visibility.
These are task-based categories, not named winners or results from hands-on testing. Current listings differ, so verify the tool's documented features and instructions before ordering.
Compare the main layout-tool categories
| Tool category | Best starting use | Verify before buying | Main limitation |
|---|---|---|---|
| Compact bubble level | One sign with an accessible straight top or bottom edge | Length, vial visibility, edge shape, calibration-check instructions | A short body may not bridge a bowed edge or distant marks |
| Long level or straightedge | Wide signs and a baseline between spaced mounting points | Length, readable markings, straight reference edge, storage | Awkward in a tight corner or over furniture |
| Mounting-point transfer tool | Keyholes, D-rings, or paired hanging points on a known sign back | Compatible hardware geometry, span, marking method, instructions | Does not establish wall suitability or fastener choice |
| Laser level | Multi-piece arrangements or repeated positions across a wider wall | Documented range, mounting method, calibration check, controls, power | More setup and cost than one simple sign usually needs |
| Low-tack tape and suitable marker | Temporary baselines, centers, mockups, and labeled reference points | Wall-finish guidance, removal timing, mark visibility, cleanup | No tape or marking product is universally safe for every finish |
Selection criteria that matter
- Sign width and edge shape: a level must reference a known straight surface or a trustworthy layout line. Decorative or uneven sign edges may require a separate straightedge.
- Mounting-point geometry: record the centers of keyholes, D-rings, rails, brackets, or supplied hardware. Choose a transfer method that matches those actual points.
- Single sign or repeated layout: a compact manual kit can be simpler for one sign; several panels may justify a longer baseline or a properly checked laser.
- Readable controls: vials, scales, buttons, and indicators should be visible from the position where the tool will be used.
- Calibration check: follow the maker's instructions for checking the level before relying on it. Do not assume a dropped, damaged, or unfamiliar tool remains accurate.
- Wall marking: test any tape or marking method in a discreet spot and follow the wall-finish and product guidance. Avoid permanent marks until the layout is confirmed.
- Working clearance: account for trim, corners, furniture, ceiling height, and whether another person is needed to hold a long sign or template.
- Storage and reuse: a longer tool only helps if it can be stored without damage and brought back to the next installation.
A practical layout framework
- Confirm the sign's finished dimensions, weight, back construction, and supplied mounting instructions.
- Choose the viewing position and make a full-size paper or tape mockup before marking hardware points.
- Establish one center or reference edge from the room—not from an uneven ceiling, floor, or nearby object unless it is the intended visual reference.
- Measure the sign's mounting points from that reference and transfer them with a template, straightedge, or compatible layout tool.
- Check the proposed line with a verified level, then remeasure the span and diagonals where the layout calls for them.
- Confirm the wall construction, concealed-service risks, and fastener instructions separately before drilling or attaching anything.
- After installation, recheck appearance from the normal viewing position; visual alignment with the room may be a separate design decision from a level line.
This framework plans position only. It does not determine structural capacity, locate wiring or plumbing, approve a fastener, or replace the sign and hardware manufacturers' instructions.
Manual level vs laser level
- Start with a manual bubble level for one conventional sign, a short reference line, low setup overhead, and no need to project a line across the room.
- Consider a laser level when several pieces share one baseline, marks are far apart, or the same layout repeats across several indoor locations.
- Skip the laser upgrade when tool mounting, calibration, beam visibility, power, or operating instructions add more uncertainty than they remove.
- Use a physical template either way when the sign's mounting points must transfer precisely. A level line alone does not tell you where hidden keyholes or brackets belong.
Who should skip a layout-tool purchase?
- Skip a new kit if a verified level, tape measure, suitable straightedge, and safe temporary marking method already cover the job.
- Skip product listings that omit dimensions, operating instructions, calibration-check guidance, or enough detail to match the tool to the layout.
- Skip a laser for a one-sign job when a manual template and bubble level are simpler and easier to verify.
- Skip do-it-yourself installation when the sign is unusually heavy, overhead, powered, fragile, high-value, or uses unfamiliar mounting hardware.
- Stop when the wall construction is unknown or the proposed attachment could encounter concealed wiring, plumbing, masonry, or other conditions needing an appropriate professional.
- For a rented or managed space, obtain the required property approval before altering the wall; a removable mockup is not installation permission.
Final buying checklist
- Finished sign width, height, weight, back, and mounting points documented
- Manual level, long straightedge, transfer tool, or laser matched to the real span
- Tool dimensions and readable scales or vials verified
- Maker's use and calibration-check instructions available
- Temporary tape or marking method checked against the wall finish
- Full-size sign mockup reviewed from the normal viewing distance
- Wall, fastener, hidden-service, and installation checks kept separate from layout
- Professional-help triggers identified before work begins
The best layout kit is the smallest set that can establish a repeatable reference, transfer the sign's actual mounting points, and let you verify the result before the wall is altered. For hardware selection and wall-specific stop points, continue to the mounting supplies pillar and the hollow-drywall mounting guide.