 The Good Sign Company
Low-Profile Poster Hanger Guide
Best poster hangers for narrow hallway signs
In a narrow hallway, start with the finished print and the complete hanger's projection from the wall. Slim rail hangers can keep a lightweight indoor poster visually quiet, but open paper edges, cords, caps, and wall hardware still affect clearance and update access.
This is a category guide, not a hands-on ranking. Measure the actual hallway and print, then verify every shortlisted product's current dimensions, supported media, grip instructions, and wall-mounting directions.
Disclosure: As an Amazon Associate, we may earn from qualifying purchases and approved partner referrals.
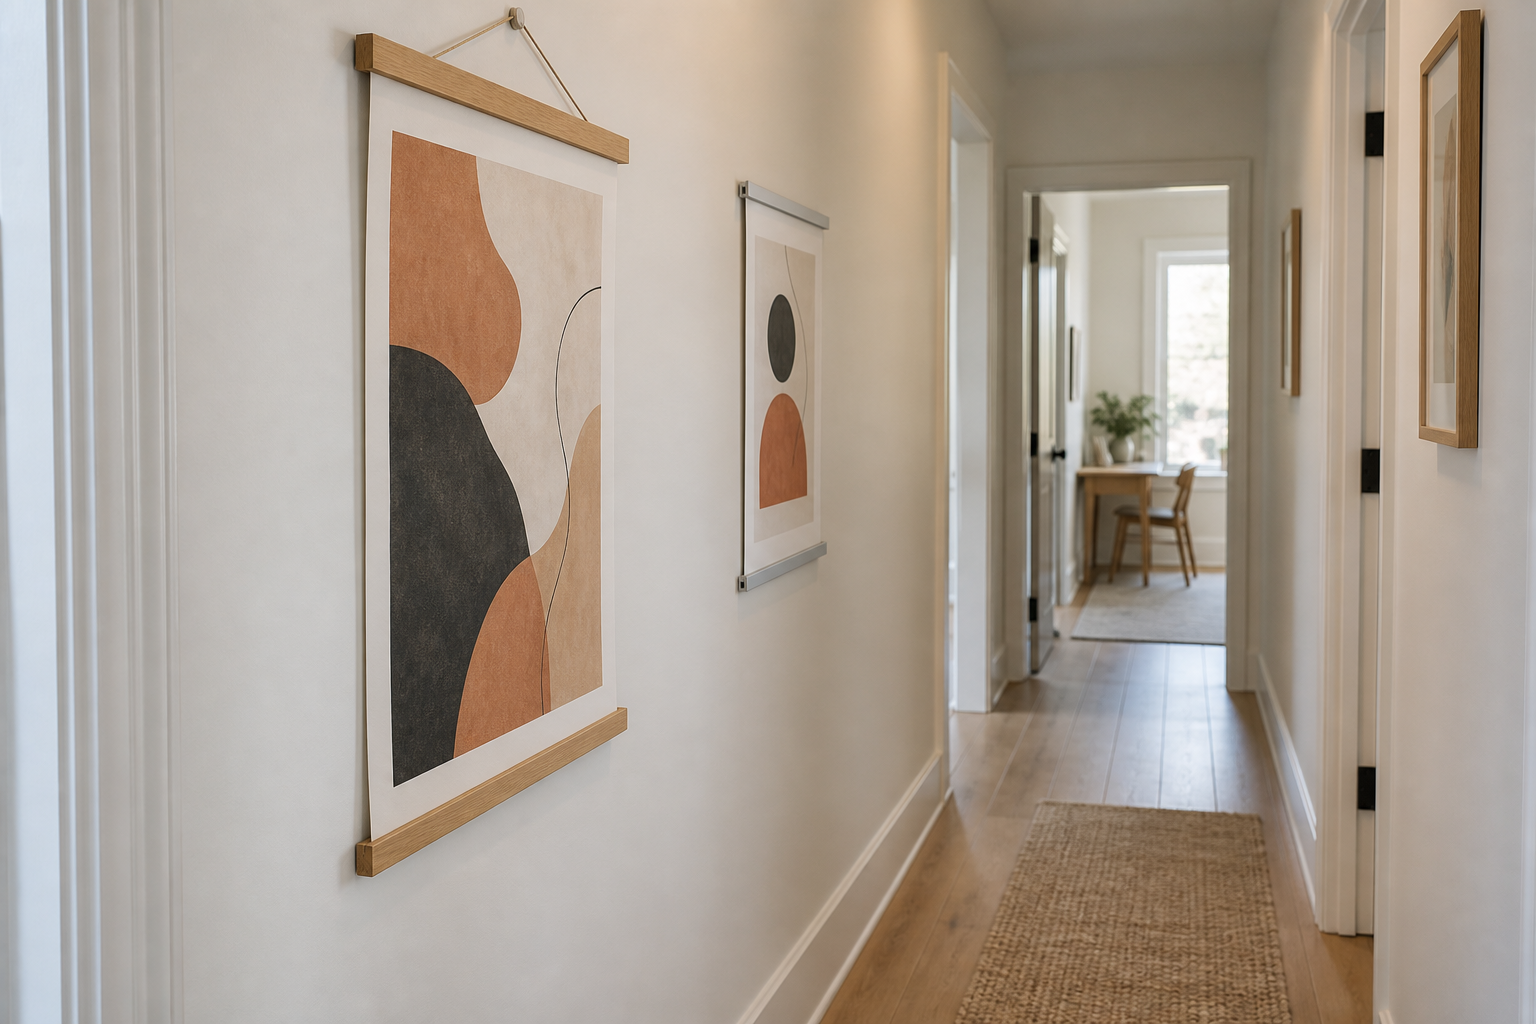
Projection-first category route
Compare rail hangers only after measuring the passage
Record the finished print width and material, the hallway's clear width, the hanger's complete assembled depth, its hanging point, and how much side room a print change requires. Treat listing photos as context, not measurements.
Best hanger formats by hallway job
These are format starting points, not named winners. Current products vary, so remove any option whose listing does not document fit and installation clearly.
- Slim top-and-bottom rails: best for a clean, unframed poster presentation. The lower rail can help define the bottom edge. Verify rail depth, end-cap projection, grip method, and whether important print content will be covered.
- Top rail only: best when quick paper changes are the priority. One rail reduces the parts handled during a swap, but the lower edge remains unsupported and may move or curl. Follow the maker's media guidance.
- Flush metal snap rails: best when the specified rail mounts directly to the wall. A wall-fixed rail may remove a visible hanging cord. Check how it opens, how much hand clearance an update needs, and what hardware the instructions require.
- Cord-hung magnetic rails: best when the visible hanging line suits the room. The rail may be slim while its cord, knot, hook, or wall attachment adds visual height and projection. Measure the complete assembly.
Measure the wall profile, not just the rail face
- Measure the clear passage. Note doors, trim, switches, handrails, furniture, and the points where people turn or carry bags and laundry.
- Mock up the finished print. Use paper at the intended dimensions and view it from both directions. Keep it clear of door swings and operating hardware.
- Find the maximum projection. Include the rail body, caps, cord, hook, wall fastener, curled paper edges, and any lower rail—not only the advertised front face.
- Plan the update motion. Check whether the rail separates toward the hall, slides sideways, or needs a flat surface nearby for aligning the print.
- Verify the mounting instructions. Match the documented combined load and attachment method to the actual wall. Do not assume included hardware suits every substrate.
Selection criteria that matter in a narrow hall
- Print and rail width: confirm whether the paper should sit flush with the rail, inside its ends, or with an intentional overhang.
- Supported media: plain paper, laminated sheets, fabric, and heavier prints do not grip or hang identically. Use product-specific guidance.
- Exposed edges: open-sided hangers leave paper reachable. Consider how close coats, bags, shoulders, and cleaning tools pass the display.
- Readability on approach: hallway readers often see a print at an angle. Test type size, contrast, glare, and viewing height with a full-scale mockup.
- Change access: a low-profile holder can still be awkward if a nearby door, corner, or console blocks the hands needed to open it.
- Wall attachment: the magnets or clamps that hold the print are separate from the hardware that holds the assembly on the wall.
When to skip a rail poster hanger
- Skip it when the seller does not document dimensions, media fit, grip, or installation well enough to confirm the setup.
- Choose an enclosed frame when the print needs covered edges or a protective front for the intended indoor location.
- Choose another wall—or a tabletop display—when normal hallway traffic is likely to brush the print, cord, or lower rail.
- Skip exposed paper where repeated touching, splashes, or cleaning contact are predictable; do not infer durability from a styled photo.
- Pause for appropriate installation help when the wall assembly, fastener choice, combined load, or placement above a traffic route is uncertain.
Keep this decision separate from the general hanger choice
The magnetic poster-frame guide compares print fit, grip, visual finish, and update routines across ordinary indoor displays. Use this hallway guide when the extra constraint is shallow projection and clearance from passing traffic. If you are still deciding whether the format is worthwhile at all, start with the magnetic poster hanger worth-it guide.
The practical bottom line
A useful narrow-hall poster hanger is not merely thin in a front-facing photo. It fits the measured print, keeps every part of the complete assembly within an acceptable wall profile, leaves room for ordinary passage and paper changes, and comes with instructions that match the wall and media. If those checks are unclear, use a different location or display format.