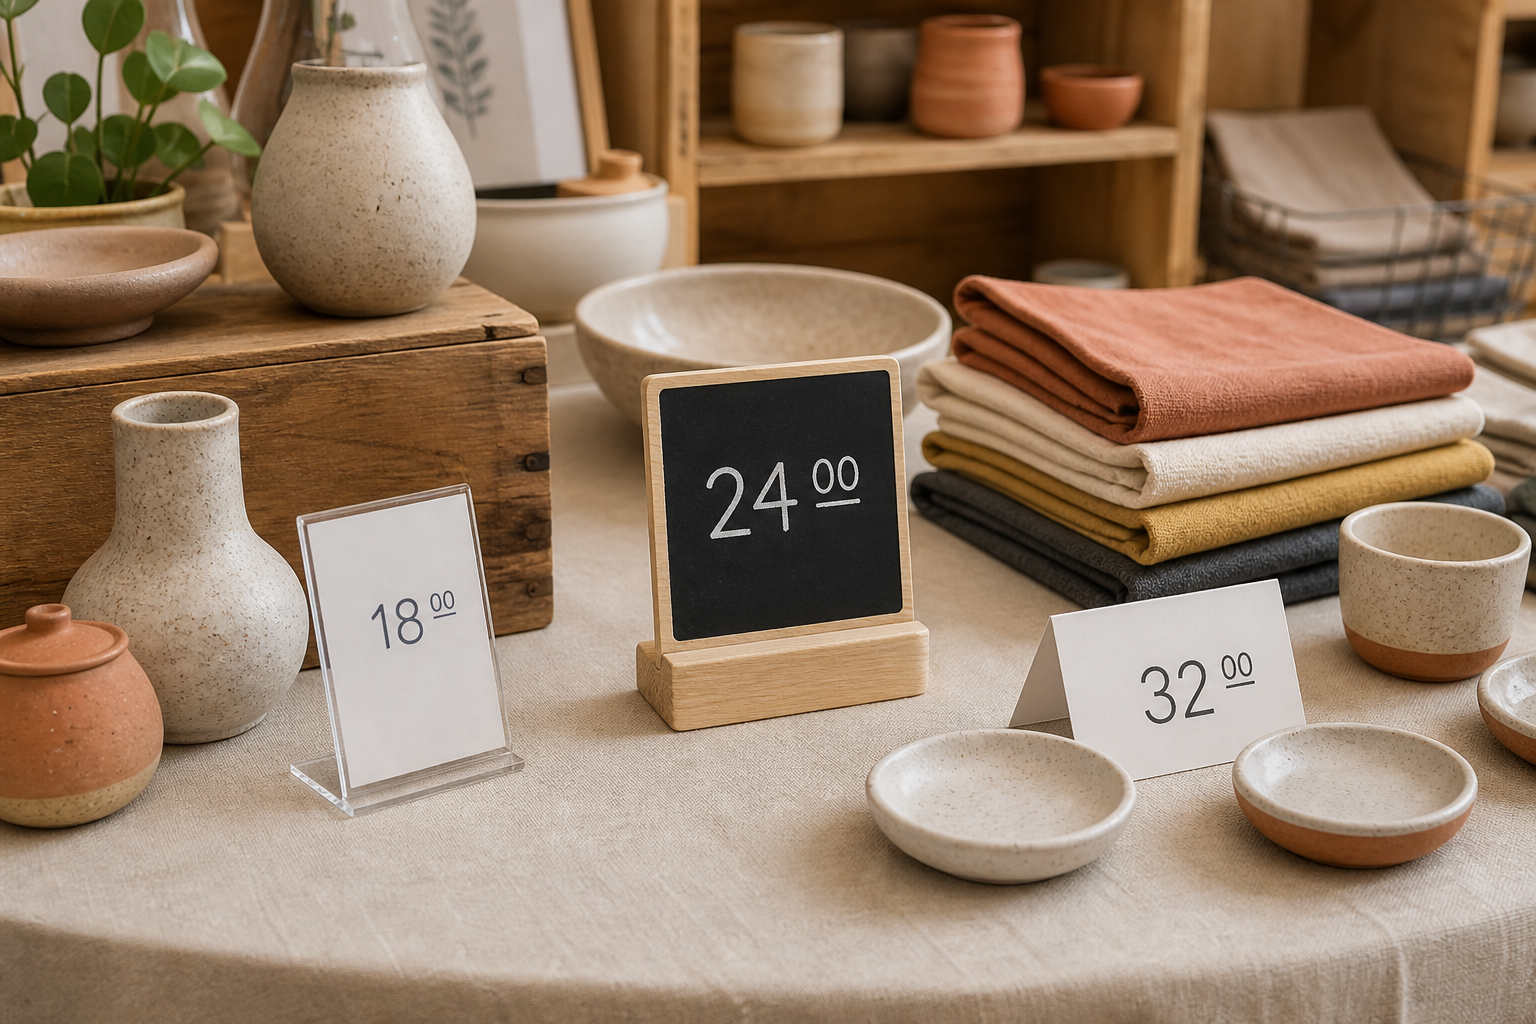
Acrylic insert holder: good fit for clean grouped pricing
Use one holder beside a clearly bounded product family. Check orientation, visible card area, base depth, insert access, glare, and how the faces will be protected in transit.
 The Good Sign Company
Independent publisher disclosure: We may earn compensation from DaNite Sign Company referrals.
Talk to DaNiteCraft-Fair Display Guide
A price sign works when a shopper can connect one amount to the right item without asking or guessing. For most makers with tidy product groups, an upright acrylic insert holder is the best starting format: it protects a printed card, takes little table space, and can be updated without replacing the holder. Mini chalkboards suit frequent same-day changes, while tent cards are the lightest route for many small groups.
Best overall starting format
A small acrylic holder keeps a printed price card upright and separates the reusable stand from the message. Compare card size, base depth, orientation, insert access, edge finish, and reflections under the venue lighting.
This is a category comparison and buying framework, not hands-on testing or a ranking of named products. Define the display job, then score every candidate against the same criteria:
Use one holder beside a clearly bounded product family. Check orientation, visible card area, base depth, insert access, glare, and how the faces will be protected in transit.
Choose an erasable face when amounts or product groups change during the event. Compare usable writing area, listed marker or chalk compatibility, base stability, cleaning instructions, and dry storage.
A folded card is inexpensive to duplicate and stores flat. Check whether the stock remains upright, whether both sides need printing, and whether the card can be placed close enough to avoid ambiguous pricing.
Start with the amount, then add only the words needed to connect it to the product group. If size, material, or set quantity changes the amount, a short two-column card can be clearer than several nearly identical signs. Keep detailed product stories, care notes, and payment instructions on separate close-view material.
Before printing the set, place rough cards throughout a full practice display. Walk the customer route and look for two common failures: a sign hidden behind merchandise and a single amount that appears to apply to two adjacent groups.
A separate booth-identity or action sign has a different job. Compare those formats in the tabletop signs for vendor booths guide, or use the QR code sign guide when one maintained destination supports a useful next step.
Pack holders so clear faces do not rub against hardware or rough merchandise. Store printed cards flat, and keep any writing tools with the sign set. At the event, keep every base inside the table edge and preserve clear access to products and payment equipment. Follow the organizer's display rules and each product's instructions for the actual setting.
For a sign that needs to be seen before shoppers reach the table, use the market-booth hanging sign guide rather than enlarging price cards until they compete with the merchandise.
Start with small upright insert holders when products fall into stable, clearly separated price groups. Use mini chalkboards for frequent rewrites and tent cards when many lightweight signs must pack flat. Whatever the format, test the full table from the aisle, connect each amount to one obvious group, protect the pieces in transit, and keep the price message separate from booth branding and checkout instructions.
Continue with the small-business sign planning pillar, or compare craft-fair price sign categories.