 The Good Sign Company
Framed-sign contact pad comparison
Clear Wall Bumpers vs Felt Pads for Framed Indoor Signs
Clear bumpers fit shoppers who want a visually quiet, defined contact point and can match its listed profile to a measured gap. Felt pads fit broad, flat frame corners where a soft, low-profile textile contact makes sense. Neither option hangs, levels, secures, or proves protection for a framed sign.
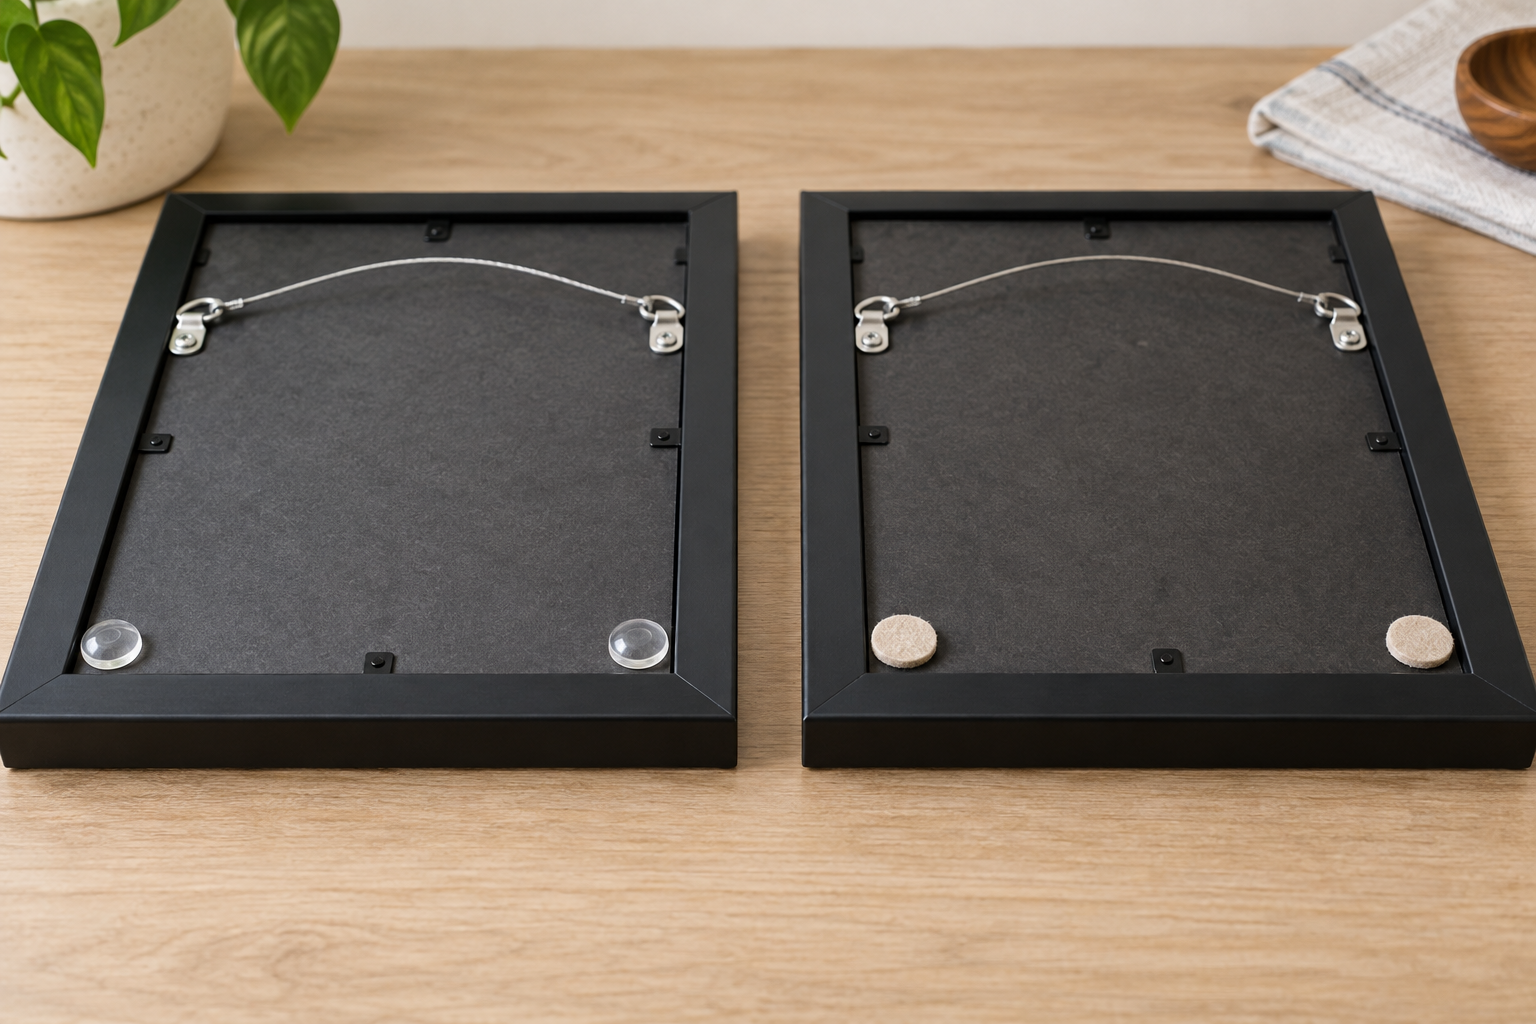
Compare the two contact-pad routes
Measure the flat frame area and settled frame-to-wall gap, then check the current maker's surface, application, inspection, and removal instructions.
The short decision
| Factor | Clear wall bumper | Felt pad |
|---|---|---|
| Best starting fit | A measured gap needs a defined, unobtrusive contact point | A broad, flat corner can accept a thin textile pad |
| Visibility | Often less noticeable on dark or glossy frames | Color and fibers may show from the side |
| Upkeep | Inspect for movement or material change | Inspect for compression, debris, or shedding |
| Main check | Diameter, installed height, and finish compatibility | Thickness, full edge support, and finish compatibility |
| Not for | Supporting weight, correcting a bad mount, powered-sign spacing, or exterior and regulated work | |
Choose clear bumpers when visibility and a defined profile matter
A transparent dot can disappear more readily against some frame finishes when its full diameter stays inside the edge. Compare listed installed height with the lower-corner gap: a tall dome can tilt the frame or become visible, while a thin dot may not reach the wall.
Do not treat “clear,” “rubber,” silicone, vinyl, and polyurethane as interchangeable. Follow the exact product's guidance for compatible surfaces, preparation, pressure, cure, inspection, and removal.
Choose felt pads when a broad, soft contact face fits
Felt can suit a wide, flat lower rail where the complete adhesive face has support. It is usually easier to see than a clear dot, and its textile face can collect dust or compress. Keep it inside the frame perimeter and off backing paper, glazing, artwork, tabs, cables, and fasteners.
Choose a color and diameter that stay discreet from the side. If fiber texture, compression, or cleaning access is a problem, a documented clear bumper may fit better.
Setup and maintenance
- Confirm the sign is securely supported by its intended hanging system.
- Let it settle and identify the natural lower contact points.
- Measure the usable flat area and gap at both corners.
- Verify frame-finish compatibility in current product instructions.
- Apply only as directed; never stack pads to improvise leveling.
- Inspect from the front, side, and below, then schedule replacement checks.
Inspect either format when the frame is removed for cleaning. Replace a pad that shifts, hardens, compresses unevenly, sheds, gathers debris, or no longer matches its maker's stated condition. Use the documented removal method and do not pry the frame against the wall.
Skip both when
- The frame is loose, crooked, or supported by unsuitable hardware.
- No clean, flat, documented contact area exists.
- The goal is guaranteed wall protection or residue-free removal.
- A powered sign's spacing, ventilation, wiring, or service access could change.
- The sign is exterior, wet, overhead, code-sensitive, regulated, or a large commercial installation.
- The finish is too valuable or uncertain for adhesive testing and replacement.
Which option fits whom?
Choose clear for a small measured contact point, a specific listed profile, and a visually quiet result. Choose felt for a broad flat landing area when a thin textile layer fits and periodic compression checks are acceptable. Choose neither while the mounting system or surface condition is unresolved.
For the load-bearing decision, start with the picture-hanging wire kit guide or the sign mounting pillar. If clear fits, narrow diameter and thickness with the clear wall bumper guide.