 The Good Sign Company
Indoor vendor-booth lighting decision
Is a clip-on light worth it for an indoor vendor booth sign?
A clip-on light is worth considering when an otherwise clear booth sign becomes difficult to read under recurring venue lighting, a documented clamp position fits the actual booth frame, and the complete power route can be planned from the product instructions and event requirements. Skip it when the sign already reads well. Fix contrast, placement, or reflections first when lighting is not the real problem.
This is a need-for-light decision, not a promise of sales, fixture stability, electrical suitability, or venue approval. Use the small-business sign planning guide to define the sign's job and viewing distance before adding equipment.
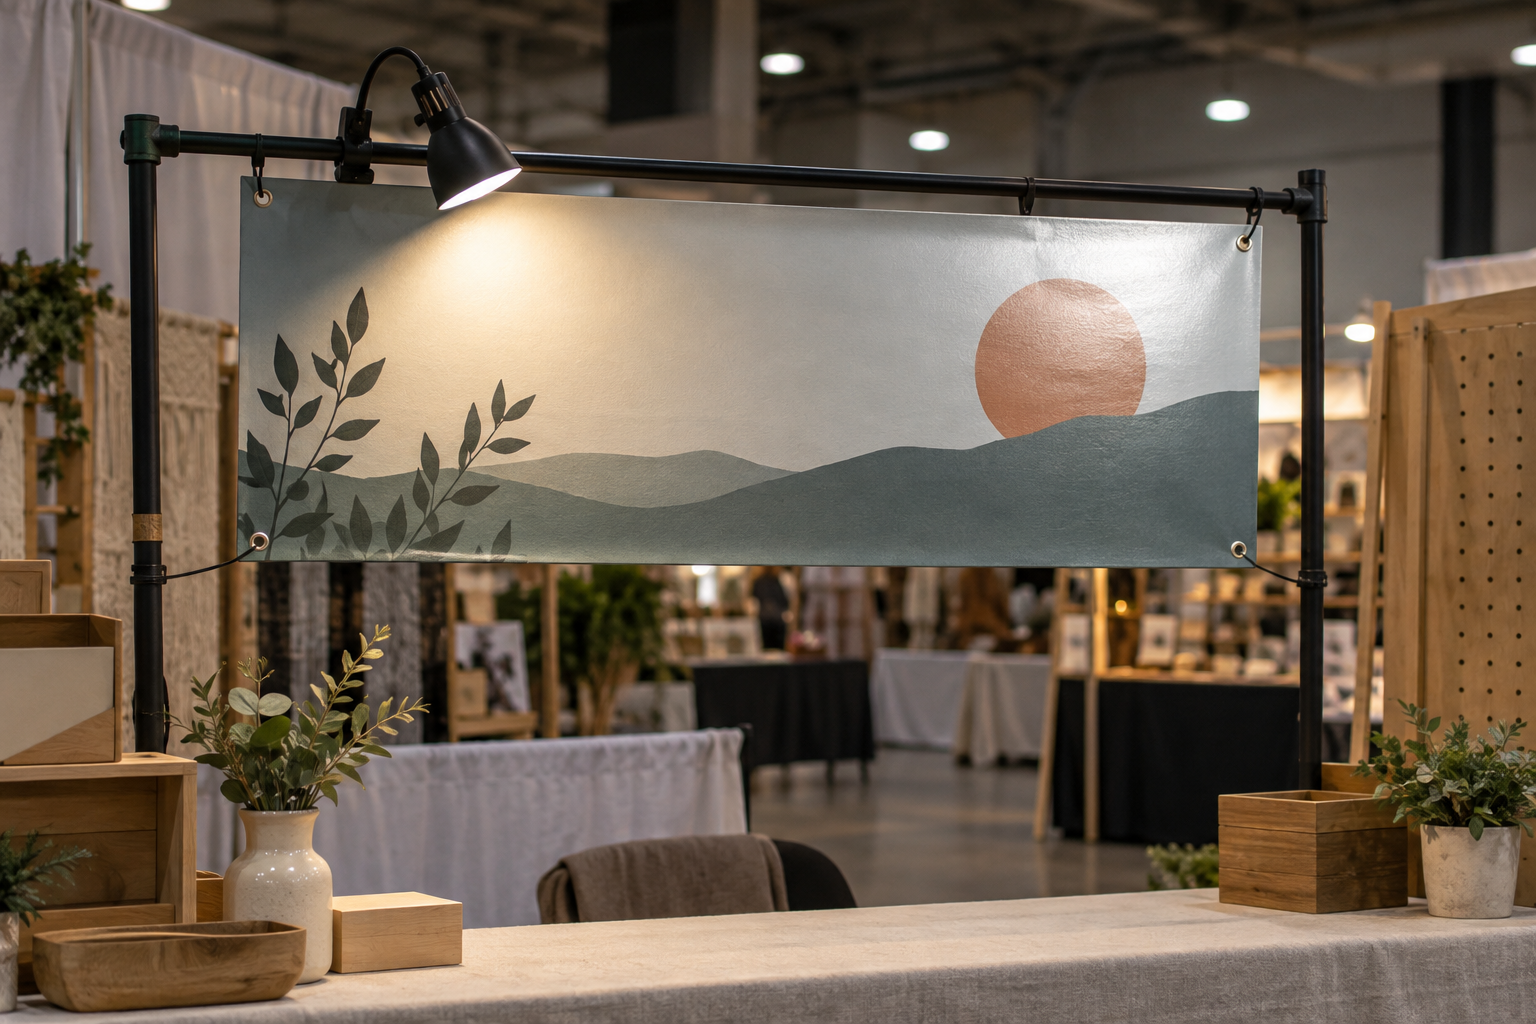
Compare products only after the sign passes the lighting test
Measure the attachment surface, lamp-to-sign distance, clearance, cord route, and available power arrangement. Then verify current clamp, placement, input, and included-parts information in the maker's instructions and listing.
Quick verdict
- Buy: representative event conditions leave a readable sign noticeably underlit, a compatible attachment point is documented, and the full setup has a workable product-specific power and pack-down plan.
- Skip: the sign is already readable at the decision distance, or the extra fixture adds complexity without correcting a demonstrated problem.
- Delay: the venue conditions, clamp surface, clearance, outlet access, cord route, or event rules are unknown.
- Choose an alternative: move the sign, simplify the message, increase contrast, change the face finish, or use venue-provided lighting when one of those changes solves the observed issue.
- Escalate: stop using damaged equipment or unsuitable electrical arrangements and ask the venue contact or a qualified professional what the actual setup requires.
Run the worth-it test at a real event
| Check | Evidence for adding a light | Reason to skip or pause |
|---|---|---|
| Visibility | The sign is clear in your studio but loses readability at the normal customer distance under representative venue light. | The message is already easy to read, or the problem is small copy and weak contrast. |
| Glare | A temporary light test improves evenness without hiding the message behind a bright reflection. | The sign's glossy face produces a stronger hotspot as the lamp is aimed at it. |
| Attachment | The actual rail or edge fits the documented clamp opening and placement instructions. | The intended surface is fragile, angled, obstructed, unknown, or outside the maker's guidance. |
| Clearance | The head, arm, clamp, and cable stay within the planned booth space and away from normal setup work. | The fixture blocks the sign, customer sightline, neighboring display, or pack-down path. |
| Power plan | The complete product-specific route and event requirements are known before arrival. | Power is assumed, adapters are unspecified, or the route depends on improvisation. |
| Repeat value | The same visibility problem recurs often enough to justify carrying, setting, aiming, and storing another component. | The issue appeared once in an unusual booth position or can be fixed with placement. |
Diagnose the sign before blaming the room
Stand where shoppers normally first see the booth and photograph the sign under representative conditions. Check it at the actual viewing distance, not from directly behind the table. Note whether the problem is low illumination, competing bright areas, a reflection, small lettering, low contrast, or merchandise blocking the face.
A lamp only addresses part of that list. If the wording is crowded, shorten it. If the sign sits below the product line, raise or relocate it using an appropriate existing support. If a shiny face mirrors ceiling lights, test a different angle or suitable non-reflective sign finish before adding another source that may create a second reflection.
Mock up the beam and sightline
Before shopping, use a temporary light already approved for the test location or the venue's available lighting to see whether illumination is likely to help. Aim from the proposed attachment position and walk the customer approach. Look for a bright center, dark edges, spill into adjacent booths, a visible lamp head that covers part of the sign, and reflections that move as the viewer moves.
Do not treat this informal mockup as product or electrical approval. Its job is to answer a narrower question: does added, well-aimed light improve the message enough to justify comparing a dedicated fixture?
Measure the entire attachment zone
Record the rail or edge thickness, its shape, the usable straight section, the distance from clamp to sign, and the space needed for the lamp head and adjustment arm. Compare those measurements with current manufacturer dimensions and placement instructions. A clamp opening alone does not establish that the host surface is suitable or that the completed arrangement will remain correctly positioned.
Keep the fixture inside the booth plan and away from areas used to stock, pack, or serve customers. If the support belongs to a venue or rented booth system, get the responsible party's direction rather than assuming a clamp is permitted.
Plan power, setup, and pack-down as one workflow
Inventory the exact light, supplied cable, power component, controls, and any other parts identified by the maker. Map where each item sits during use and where it travels after the event. Confirm outlet access and event requirements before depending on them. Do not alter connectors or improvise around damaged cords.
The operating cost is not only the light. One person must transport it, inspect visible condition, attach it as instructed, aim it after the sign is placed, manage the documented cable route, remove it, and store it so the clamp and arm are not lost among display parts. A fixture that helps at one venue but complicates every other setup may not earn a permanent place in the booth kit.
Red flags that should stop the purchase
- No representative event observation shows that low light is the actual visibility problem.
- The product photo is being used as proof that the clamp fits the booth frame.
- The proposed light creates a glare spot over the name, offer, or directional message.
- Outlet access, the complete power arrangement, or venue requirements are still assumptions.
- The cord, plug, housing, clamp, or other equipment is damaged or behaves unexpectedly.
- The lamp would project beyond the planned booth space or interfere with routine work.
Who should skip a clip-on booth light?
- A vendor whose sign is already readable in the recurring venues they use.
- A first-time exhibitor who has not yet observed the booth under real venue lighting.
- A booth with no documented compatible clamp point or no settled power route.
- A sign whose real problems are message length, contrast, scale, obstruction, or face reflections.
- A team that cannot add another setup, aiming, inspection, and storage step consistently.
Better alternatives in common cases
- Reposition the sign: useful when the sign sits in shadow or behind merchandise but reads well elsewhere.
- Simplify and enlarge the message: the better fix when readers cannot decode the sign at the normal distance even in good light.
- Increase artwork contrast: useful when letters and background have too little visual separation.
- Change the sign angle or face finish: consider this when reflections, rather than darkness, hide the message.
- Use venue lighting: ask what is available when the event already offers a documented display-lighting option.
The bottom line
A clip-on light is worthwhile only after a real booth test shows that uneven or insufficient venue light—not message design, placement, obstruction, or glare—is the remaining problem. Buy after measuring the clamp zone, sightline, clearance, and full power route; skip it when the sign already works; and delay when any attachment, electrical, or venue condition is unresolved.
If the need is proven, continue to the clip-on light category guide. If the whole display format is still unsettled, compare a hanging booth sign with a tabletop sign before adding accessories.