 The Good Sign Company
Counter sign-stand buying guide
How to Choose Adjustable-Angle Tabletop Sign Stands for Counters
The best adjustable-angle tabletop sign stand is the one that supports your finished insert, aims it at a measured customer sightline, and keeps its complete base outside the working counter zone. The hinge matters only after sign fit, footprint, and viewing position are settled.
This is a category comparison, not a named-product ranking or hands-on test. Current listings and maker instructions must confirm the supported sign dimensions, adjustment method, complete stand size, and intended use.
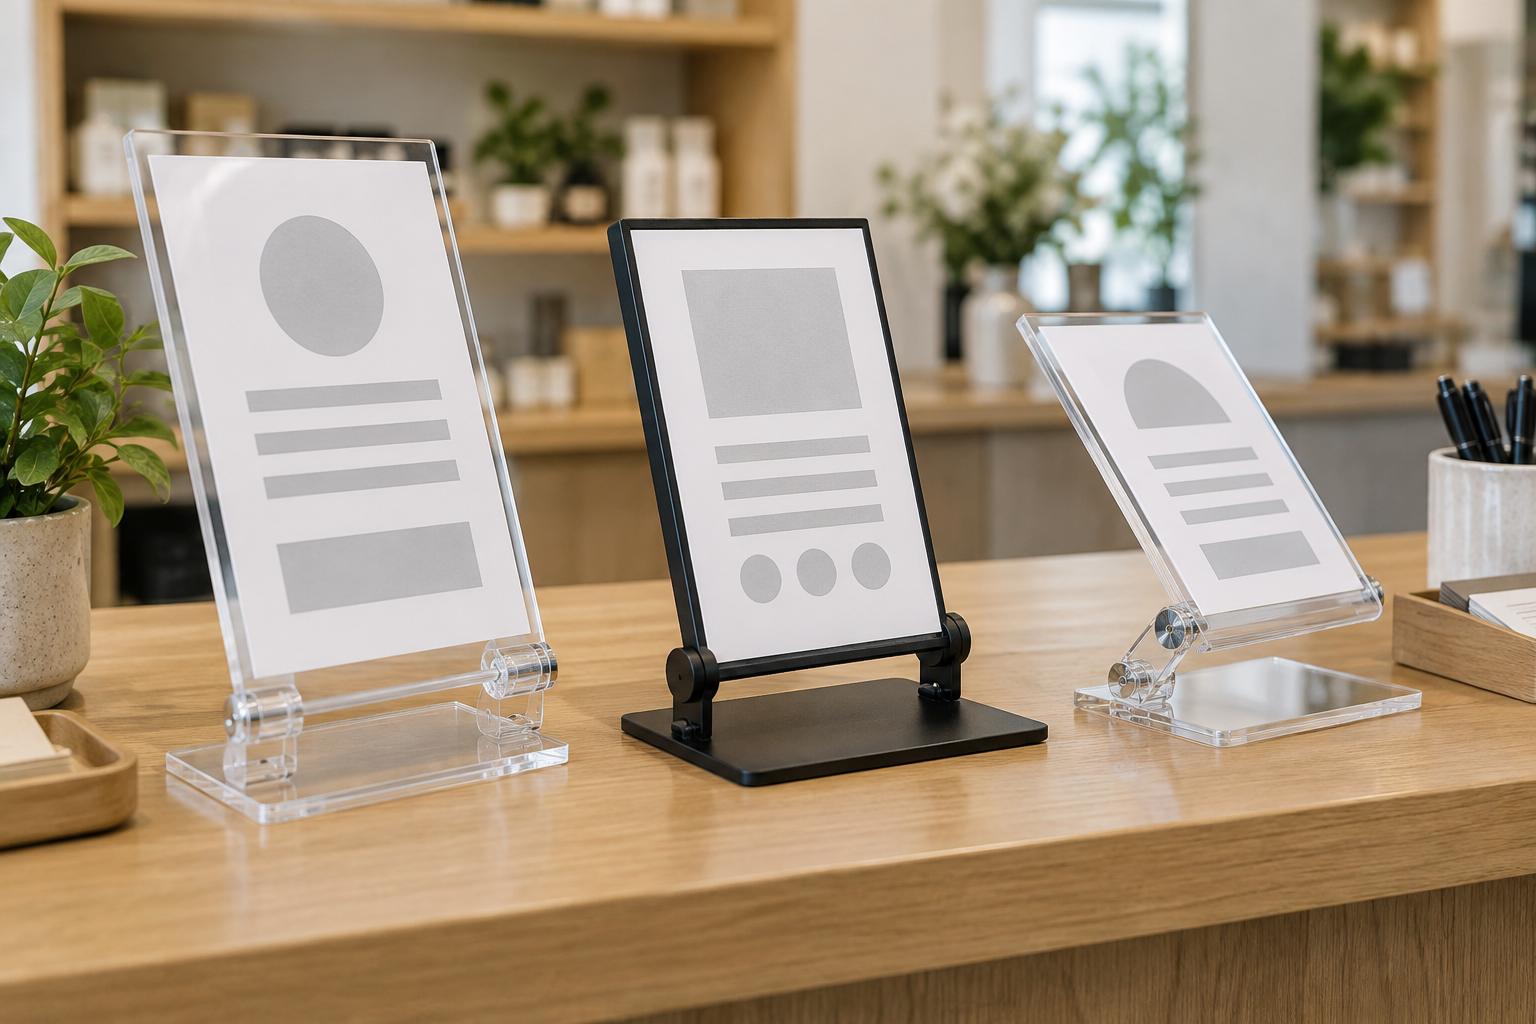
Compare adjustable-angle stands for your measured counter
Use current product pages to verify supported insert or panel dimensions, orientation, loading method, adjustment range, joint or lock design, base footprint, complete height, included parts, and care instructions. Search results are a shortlist, not proof of fit.
How to Choose format by counter-sign need
These are useful format routes, not universal winners. Match each route to a documented product and the final sign.
- Adjustable acrylic insert holder: best for frequently changed printed messages. Verify visible area, sheet thickness, loading edge, orientation, and whether the joint adjusts with the insert installed.
- Framed adjustable holder: best when the insert needs support around its perimeter. Check how the frame opens, what the border hides, and whether staff can reload it without disturbing nearby equipment.
- Clamp-style panel stand with a tabletop base: best for a compatible rigid panel. Confirm panel thickness, supported dimensions and weight, clamp contact, and maker instructions; do not assume it accepts paper.
- Low-profile tilting stand: best where height is limited but the reader looks down toward the counter. Measure both the lowest useful sightline and the base depth.
- Fixed holder: best when one known position already faces the reader. A simpler stand avoids paying for a joint that adds no useful setting.
1. Prove the counter needs angle adjustment
Stand where the customer first needs the message. Record counter height, reading distance, approach direction, and whether the reader looks down, across, or diagonally. Place a full-size paper mockup at the proposed position and test a few angles while the register, terminal, merchandise, bags, and pickup area remain in their normal places.
If one fixed angle works throughout the customer approach, use a fixed stand. If customers approach from opposite sides, a second face or a different location may solve the problem better than tilting one face. The adjustable-angle worth-it guide provides a buy, skip, delay, or simplify test before shopping.
2. Match the holder to the finished sign
Measure the finished width, height, thickness, orientation, and weight of the actual insert or panel. Then compare those measurements with current product documentation. “Letter size,” “photo size,” or a staged listing image is not enough when borders, clips, or loading slots reduce the visible area.
For paper inserts, check the loading edge and complete removal path. For a rigid panel, verify the documented contact points and thickness range. Never infer capacity from a similar-looking stand, and do not add a heavier face, lighting, or accessories unless the manufacturer supports that complete setup.
3. Compare hinge and locking methods
An adjustable joint may use friction, indexed positions, knobs, screws, or another documented mechanism. Look for instructions that show how the angle is set and whether adjustment requires tools. The useful question is not how many positions a listing claims; it is whether one supported position matches the measured sightline and remains practical during routine insert changes.
Include joint inspection in the update routine. Staff should know whether the maker calls for hand tightening, a tool, or no adjustment beyond normal positioning. Do not overtighten, modify, lubricate, or force a joint without product-specific guidance.
4. Measure the full base and work zone
Mark the listed base width and depth on the live counter with removable paper. Include any feet, rear support, knob projection, and the space needed to tilt or reload the face. The whole footprint should stay clear of payment equipment, drawers, merchandise, cords, bags, drink service, and customer handoff space.
A wide base may consume valuable work surface; a compact base is not automatically appropriate for a larger sign. Use the maker's supported configuration rather than judging stability from appearance. If no documented stand fits the available rectangle, shorten the message, reduce the insert within readable limits, move it, or use a compatible fixture-mounted route.
5. Check height, glare, and face angle together
Complete height changes where the message sits even when two stands hold the same insert. Test the sign at actual height from the normal approach and from the staff side. Make sure the face does not hide the payment display, product handoff, or eye contact at a service desk.
Angle can move a reflection rather than remove it. Test the real insert under the counter's daytime and evening lighting. A matte or low-glare insert, changed light position, or relocated stand may be more useful than another hinge setting. Do not treat “clear” as glare-free.
6. Plan message changes, cleaning, and storage
Count the steps needed to remove the insert, open the holder, reset the face, and confirm the angle. A stand used for daily offers has a different workload from one holding a stable returns notice. Keep a master insert file with its finished dimensions and print one sample before producing a batch.
Follow the maker's material-specific cleaning instructions. Keep liquids away from paper edges and joint hardware unless the product guidance says otherwise. For mobile counters or vendor tables, measure the folded or packed size and protect the face and adjustment points during transport.
Counter stand comparison checklist
| Decision | Measure or verify | Reason to skip |
|---|---|---|
| Sign fit | Finished size, thickness, orientation, weight, visible area | The listing does not support the complete sign |
| Sightline | Approach, reading distance, counter height, useful angle | A fixed holder or relocation already works |
| Adjustment | Range, positions, joint, lock, tools, instructions | The useful position is undocumented or awkward to reset |
| Footprint | Full base plus tilt and loading clearance | It enters the payment, pickup, or staff work zone |
| Visibility | Complete height, border, glare, nearby obstructions | The face hides equipment or remains reflective |
| Ownership | Update frequency, cleaning, inspection, packing | No one owns the routine |
Shortlist only after the mockup works
Keep the insert measurements, base rectangle, useful angle, and update routine beside each candidate. Remove any listing that leaves a required dimension or adjustment detail unclear.
Who should skip an adjustable-angle tabletop stand?
- A fixed face already meets the measured sightline: choose the simpler compatible holder.
- The final insert or panel is not settled: delay the hardware purchase until its dimensions and update pattern are known.
- The counter has no protected footprint: relocate the message or use an appropriate supported fixture rather than crowding payment or service work.
- Two approach directions need the same message: assess a documented double-sided format or two placements instead of repeatedly turning one stand.
- The sign is powered, unusually heavy, overhead, outdoors, or frequently bumped: this indoor tabletop category does not establish suitability.
- Staff cannot inspect and reset the joint: use a fixed holder with fewer setup decisions.
Bottom line
Choose in this order: finished sign, customer sightline, supported adjustment, complete base, then update and storage work. Buy an adjustable stand only when a full-size mockup identifies a useful angle that a simpler placement or fixed holder cannot provide.
For the broader message, stakeholder, and placement brief, use the small-business sign planning pillar. If the counter format is still open, compare table tents with acrylic holders before committing to adjustable hardware.