 The Good Sign Company
Counter insert buying guide
How to Choose clear menu sleeves for frequently changed counter inserts
The best clear menu sleeve matches the finished insert exactly, loads from an edge staff can reach, and works with the stand or clipboard that will support it. Start with the complete display system—not a vague “letter-size” label—then compare glare, closure, cleaning instructions, and replacement workflow.
This category guide is for cafes, studios, pop-ups, reception counters, and market sellers using printed messages that change often. It does not rank named products or assume that a sleeve is liquid-proof, food-safe, self-supporting, or compatible with every cleaner.
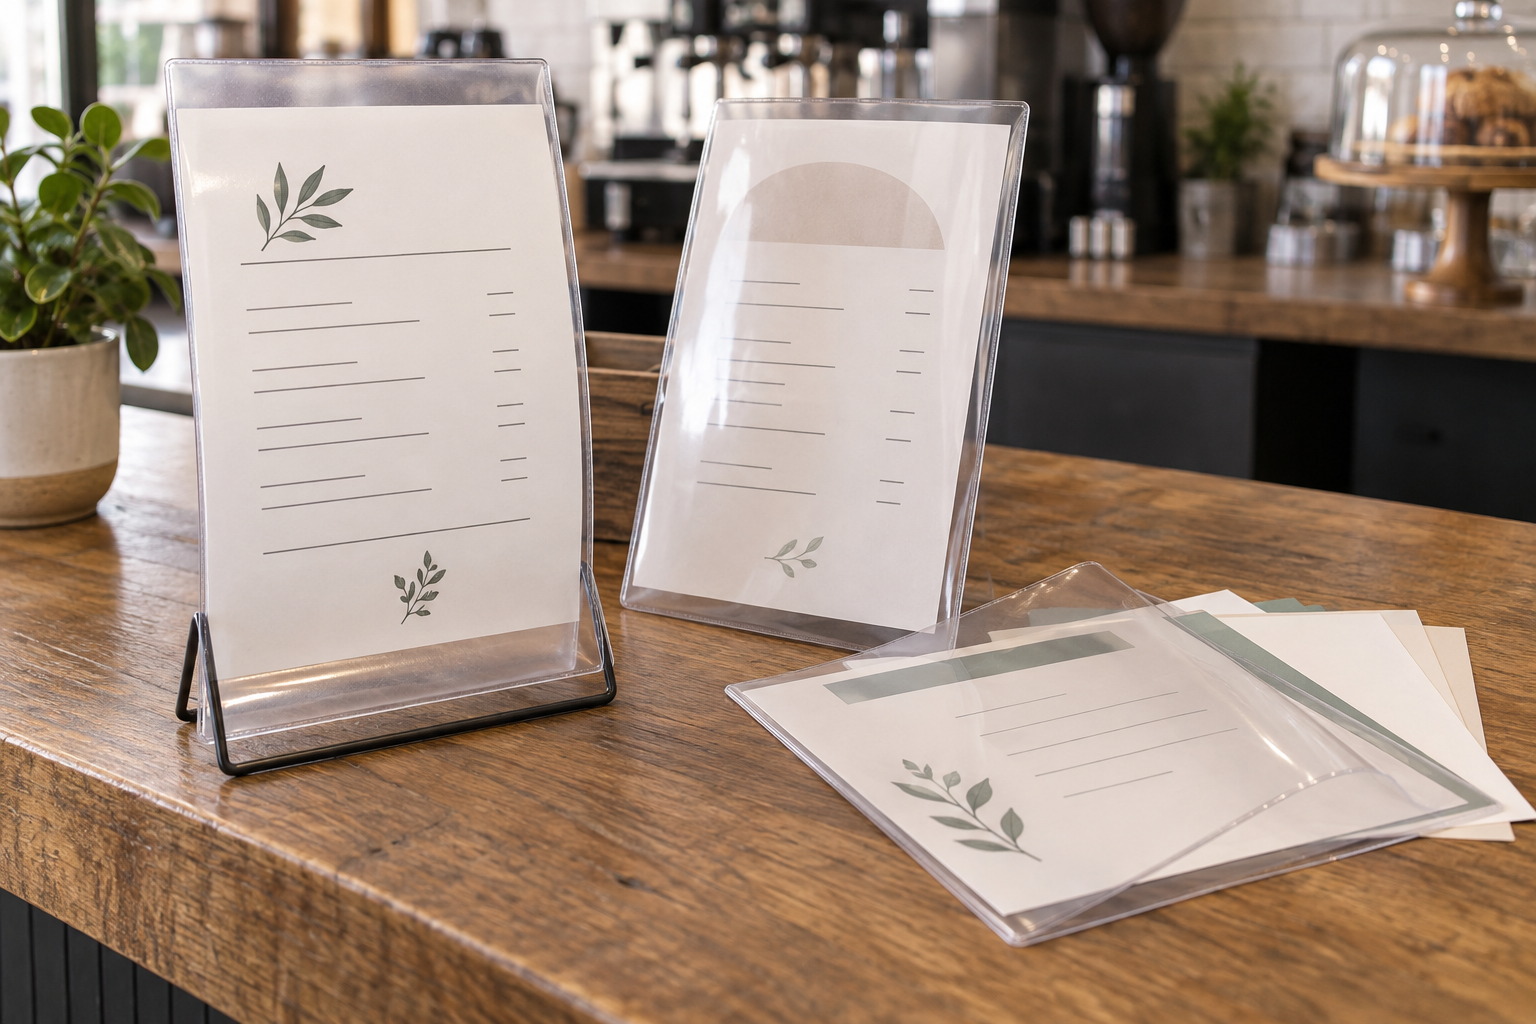
Compare sleeves by the complete counter setup
Check current listings for interior dimensions, opening edge, closure, orientation, surface finish, material guidance, cleaning instructions, and compatibility with your planned stand or clipboard. Confirm those details on the exact item before ordering.
Quick picks by counter workflow
| Sleeve format | Useful starting point | Main check |
|---|---|---|
| Top-loading sleeve | Staff replace a flat insert while the sleeve stays in a support. | There is enough clearance above the display to remove the sheet. |
| Side-loading sleeve | Overhead clearance is tight but one side remains reachable. | The opening will not be blocked by a stand, clip, wall, or neighboring item. |
| Sleeve with a closure | Loose inserts tend to shift during handling or transport. | The closure is documented, easy to reset, and does not hide needed copy. |
| Matte or reduced-glare finish | Reflections interfere with reading under fixed lights. | The finish still preserves adequate contrast and detail for the real message. |
| Multi-pack of one verified size | Several counters use the same approved template and support. | Test one complete setup before standardizing the pack. |
1. Measure the finished insert, not its familiar name
Measure the actual trimmed sheet in both directions. Then compare those measurements with the listing's stated interior or insert capacity, not only the outer dimensions. A sleeve described with a common paper name may have seams, closures, or tolerances that change the usable area.
Also note portrait or landscape orientation and the location of any title, border, price column, or QR code. A sleeve can physically accept the paper while its seam or closure crowds useful content. Print one full-scale sample and mark the area that must remain unobstructed.
2. Choose a loading edge staff can reach
Picture the sleeve in its final holder during a busy update. A top opening is convenient only when there is room to lift the sheet. A side opening needs clear lateral access. If the sleeve must be removed from a clip or stand for every change, include that extra handling in the update routine.
Run one timed change with the actual paper stock. Watch for corners that catch, thin sheets that buckle, and openings that are difficult to identify. The goal is not the fastest theoretical sleeve; it is a repeatable change that does not encourage staff to bend the insert or abandon the display.
3. Match flexibility to the support
A flexible sleeve generally needs a stand, clipboard, rail, clip, or other support. Do not assume it will stand by itself. Confirm the support's accepted material thickness, grip area, ledge depth, and orientation. Make sure the support does not cover prices, instructions, or the loading edge.
For a self-supporting counter display, a rigid acrylic sign holder may be a simpler system. A sleeve makes more sense when flexible storage, handling, or use with an existing support matters more than an integrated base.
4. Test glare with the real message
Clear surfaces can reflect windows, pendant lights, and bright fixtures. Place a sample at the intended counter angle and read it from the customer approach during the lighting conditions that matter. Test the full layout rather than a blank sleeve; small type and pale graphics reveal glare problems faster.
A matte or reduced-glare finish can help in some setups, but it may also soften fine detail. Treat finish as a tradeoff to test, not a universal upgrade. Repositioning the stand or simplifying the insert may solve the problem without changing the sleeve.
5. Check closure and transport needs
An open sleeve may be adequate when it stays upright at one indoor counter. A documented flap, zipper-style closure, or other retention feature may be useful when inserts travel to markets or are handled often. Verify exactly how the chosen closure works; product photos alone may not show whether it seals, merely folds, or only helps retain paper.
Do not infer spill protection, waterproofing, food-contact suitability, or outdoor use from a closure or clear plastic appearance. Those are product-specific claims that require explicit current documentation.
6. Plan cleaning and replacement
Follow the sleeve maker's cleaning instructions. Avoid improvising solvents or abrasive tools, which may cloud, scratch, or distort an unsupported material. Assign one person or shift to check for haze, curled seams, trapped debris, and inserts that have shifted out of alignment.
Store spare sleeves flat or as directed, with replacement inserts in the same labeled kit. Record the verified size and loading edge so a later reorder does not rely on memory. If the message changes weekly across several locations, the broader printed-insert system guide can help define ownership and file control.
A practical comparison framework
- Define the message: note finished paper dimensions, orientation, must-show area, and change frequency.
- Map the counter: measure available footprint, height, loading clearance, customer sightline, and light sources.
- Choose the support: identify the stand, clip, clipboard, or rail and its accepted thickness and grip area.
- Shortlist sleeves: compare interior dimensions, loading edge, closure, finish, and maker-provided care guidance.
- Test one unit: load the real insert, place it under real lighting, perform an update, clean it as directed, and pack it if it travels.
- Standardize only after the test: document the exact sleeve and insert template before ordering for more counters.
Who should skip clear menu sleeves
- You need a self-supporting display: use a rigid tabletop holder or another stand designed to support the insert.
- The message changes several times a day: a compatible dry-erase or chalk system may remove repeated printing, if consistent handwriting and cleaning are manageable.
- The message rarely changes: a framed or fixed printed sign may be simpler than maintaining a reusable sleeve workflow.
- The sheet must be read from far away: move to a larger sign or menu board rather than shrinking copy into a counter sleeve.
- You need a documented protective property: choose only a product whose current manufacturer information explicitly supports that requirement.
Bottom line
Choose a clear menu sleeve in this order: verified insert fit, reachable loading edge, compatibility with the support, readable finish under real light, then closure, cleaning, and replacement details. Test the whole display with one real insert before buying a multi-pack. If the support format is still undecided, compare a clear menu sleeve with a rigid acrylic counter holder. If the real choice is a replaceable insert or a sealed stable message, compare a clear menu sleeve with a laminated counter sign. For the wider decision—viewer, message, update owner, counter footprint, and backup route—use the small-business sign planning pillar.