 The Good Sign Company
Counter-sign equipment guide
How to Choose desktop laminators for printed counter sign inserts
The best desktop laminator is the smallest machine whose current instructions support the exact pouch construction, finished width, and recurring batch your team actually uses. Measure the full feed-and-exit path, assign an operator, and test one finished insert in its holder before standardizing.
This is a product-category comparison, not a ranking of named models or a hands-on test. Current models and specifications change, so verify every candidate against the maker's current manual and the pouch documentation.
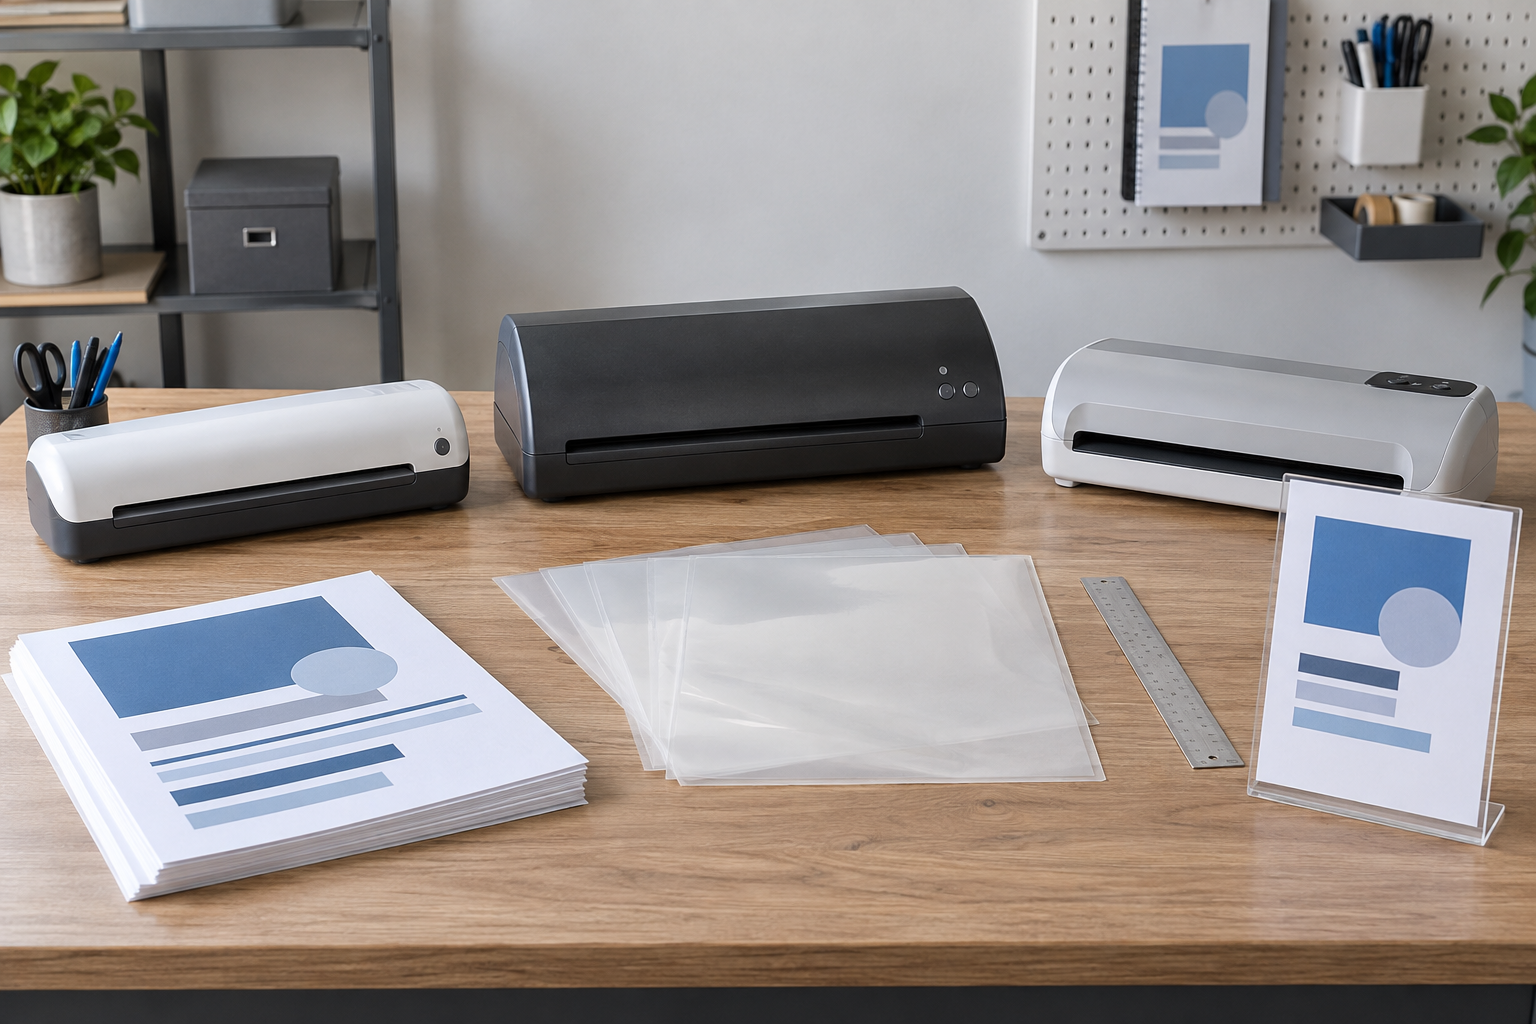
Compare machines only after fixing the insert specification
Use current listings to build a shortlist, then verify supported pouch width and thickness, controls, indicators, feed direction, jam-release or clearing instructions, dimensions, and storage guidance in current manufacturer documentation.
Quick comparison by machine format
| Machine format | May fit when | Verify before buying |
|---|---|---|
| Compact fixed-setting laminator | One documented pouch specification covers small, repeatable batches and storage is tight. | Accepted pouch sizes and thicknesses, indicator meaning, feed orientation, clearing method, and full operating depth. |
| Compact laminator with selectable settings | The team uses more than one supported pouch construction and can document the correct setup for each. | What each control actually changes, supported combinations, warm-up indication, operator steps, and shutdown routine. |
| Wider desktop laminator | A measured insert exceeds the narrower machine's documented feed width and recurring volume supports the larger station. | Maximum supported pouch—not just paper—complete body and cord dimensions, straight entry and exit clearance, and storage. |
| Print or finishing service | Runs are occasional, sizes vary, or the required material falls outside a practical desktop workflow. | Finished dimensions, sample approval, turnaround inputs, file ownership, and final holder fit. |
1. Start with the finished sign, not the machine
Record the paper size, orientation, print margins, pouch type, stated pouch thickness, sealed border, final trim, and holder opening. The insert must remain readable and fit the display after finishing. A machine with more settings is not a better choice when none of those settings matches the actual pouch-and-paper construction.
If the sign changes frequently, pause before buying equipment. A clear sleeve, rigid acrylic holder, clipboard, or unlaminated cardstock insert may keep the update process simpler. Compare cardstock with laminated paper inserts before treating lamination as a requirement.
2. Verify pouch width and thickness in current instructions
Find the manual or manufacturer's current support page for the exact model. Match its terminology for accepted pouch dimensions, thickness, settings, feed direction, and any carrier guidance with the pouch maker's documentation. Similar-looking packages and numbers do not establish compatibility.
Measure the pouch's complete outer width, not only the paper inside it. Remove a machine from the shortlist when the documentation does not clearly support the intended construction. Do not depend on a broad marketplace title or product photo to fill that gap.
3. Map the full operating footprint
Measure the body with controls, cord, and vents accessible, then add the straight space needed for the largest supported pouch to enter and exit without bending. Reserve a flat receiving and inspection area. The resulting station can be much deeper than the machine body.
Check whether the worktable remains usable during the batch and where the cooled inserts will go. Record storage orientation and the space needed for flat pouch storage. A compact body that creates an awkward feed route is not a compact workflow.
4. Compare controls and indicators by operator task
Simple controls can suit one stable, documented job. Selectable settings may help when the maker supports several pouch constructions, but only if the team has a clear setup record for each. Identify what the power, ready, temperature, speed, reverse, or release controls mean on the exact candidate; do not infer their function from another model.
Assign one role to check the approved file, load the correct supplies, follow warm-up and feed directions, inspect the result, and shut down or store the machine as instructed. A feature list cannot replace that ownership.
5. Read the clearing instructions before a problem occurs
Confirm the documented response to a misfeed or stalled pouch. Some machines describe a release, reverse control, or another clearing sequence. Treat those as model-specific instructions, not interchangeable features. Keep the manual accessible at the station.
Do not pull, pry, open, lubricate, or repair a machine unless its current instructions explicitly direct that action. Stop using damaged equipment, cords, or controls and use the manufacturer's support route or an appropriately qualified person for electrical concerns.
6. Trial one complete batch
Use the real file, paper, pouch, holder, operator, and location. Check sealed edges, flatness, glare, legibility, finished dimensions, holder loading, rejects, setup time, and storage after the run. One successful loose sheet does not prove that the repeat process fits the counter-sign system.
Save the machine model, manual reference, supported pouch specification, print settings, approved artwork, holder measurements, and operator checklist together. Recheck current compatibility before changing any part of the system.
A practical buying checklist
- Define the insert: record paper, pouch, final dimensions, message life, quantity, and holder.
- Verify documentation: match the exact construction to the candidate's current supported width, thickness, settings, and feed directions.
- Measure the station: include the body, connections, entry, exit, cooling, inspection, and supply storage.
- Compare operation: understand controls, indicators, clearing instructions, shutdown, and care.
- Name an owner: assign setup, supply checks, inspection, records, and storage.
- Run a sample: finish and display one real insert before buying supplies for more signs or locations.
Who should skip a desktop laminator
- Messages change too often: choose a reusable holder or writable format instead of sealing every revision.
- Compatibility is unclear: use a documented alternative or a finishing service rather than guessing.
- Operating space is too short: the body fitting on a shelf does not solve a blocked feed or exit path.
- Volume is irregular: outsourcing may avoid equipment, supply, and storage ownership.
- No one owns the process: delay the purchase until approvals, operation, inspection, and records have an accountable role.
- The project needs a protective or compliance claim: ordinary lamination does not by itself establish waterproofing, sanitization, archival performance, food-contact suitability, outdoor suitability, or compliance.
Bottom line
Choose the machine after the insert system is fixed. Documented pouch support comes first, followed by full operating space, understandable controls, a safe manufacturer-directed clearing route, repeat batch fit, and storage. A larger machine or longer feature list is useful only when the actual counter-sign workflow requires it.
Compare current desktop laminator categories, then verify the exact model against current instructions. Use the laminating-pouch guide to define supplies, the machine-versus-self-sealing comparison for low-volume alternatives, and the small-business sign planning guide when the message or display is still undecided.