 The Good Sign Company
Counter Sign Equipment Decision
Is a desktop laminator worth it for printed counter signs?
A desktop laminator can be worth owning when your organization repeatedly finishes stable, compatible-size counter signs and can give one trained operator a clear setup, storage, and maintenance routine. It is usually not worth buying for an occasional sign, frequently changing messages, uncertain material compatibility, or a workspace that cannot support the complete operating process.
Separate two decisions first. Decide whether a particular sign should be laminated, then decide whether enough suitable work recurs to justify owning the equipment. One successful sign does not automatically make a machine useful.
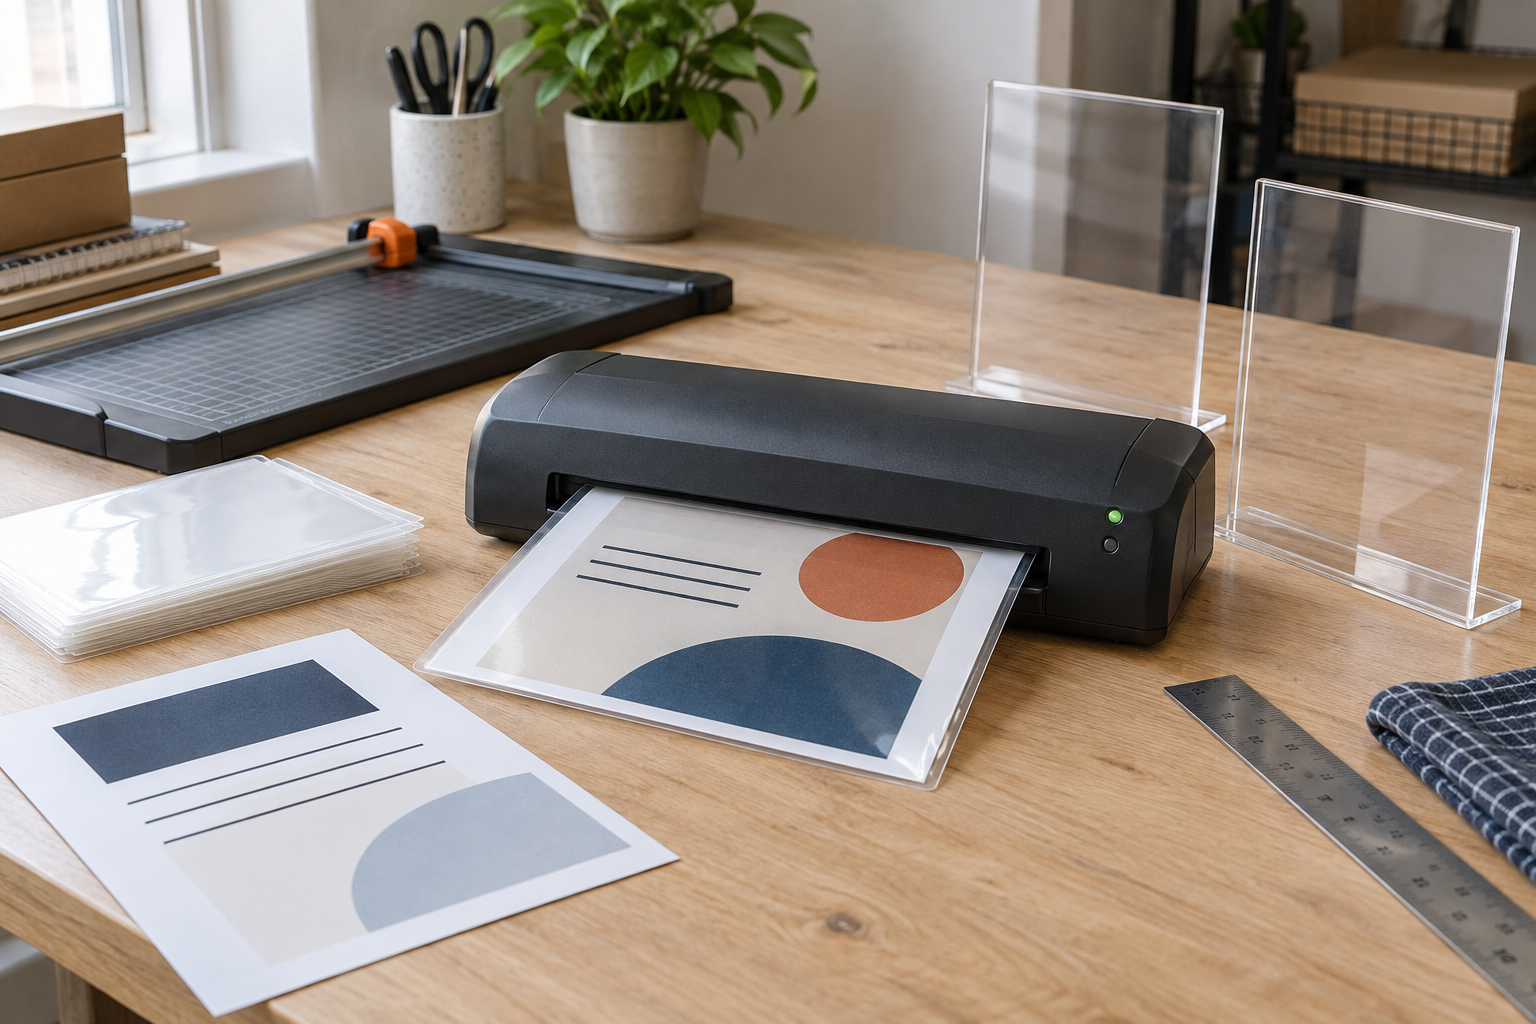
Compare only after mapping the workflow
Check supported size, pouch range, footprint, and clearing instructions
Use the current manufacturer documentation for each candidate. Match the largest sign sheet and intended pouch to the stated support, then account for feed space, exit space, controls, storage, and the maker's operating and clearing directions.
Quick verdict
Buy when compatible signs recur often enough to create a predictable queue, the messages remain useful long enough to merit finishing, and your team has a suitable place and owner for the process. Delay when volume is still uncertain: track a few months of requests and outsourced or self-sealed work first. Skip when most signs change quickly, need formats outside a candidate machine's documented support, or already work well in reusable holders.
Count the right jobs, not every printed page
Review recent sign requests and count only sheets that were genuinely suitable for machine lamination. Record finished size, message life, handling frequency, quantity, reprint causes, and the display that receives the finished sheet. Exclude menus or notices that changed before the previous version earned its finishing work, and exclude material combinations that have not been verified against a machine and pouch maker's instructions.
A useful threshold is operational, not universal: does bringing the work in-house remove a recurring bottleneck without creating a larger setup, storage, training, or quality-control burden? Use your actual volume and labor, not a generic number of signs per month.
Map the complete operating footprint
- Machine footprint: measure the body with controls and connections accessible.
- Feed and exit path: reserve the clear space required for the largest supported pouch to enter and leave flat.
- Cooling and inspection area: identify where each finished piece will rest and be checked before trimming or display.
- Supply storage: keep compatible pouches flat and identifiable, with the machine instructions available to the operator.
- Final display fit: measure the sealed piece, not just the paper. Confirm that its thickness and dimensions suit the intended holder or stand.
Use a suitable outlet and follow the product maker's placement, operation, shutdown, jam-clearing, and care directions. Stop using damaged equipment or accessories and route electrical concerns to an appropriately qualified person rather than improvising a repair.
When ownership is likely worth considering
- The same team repeatedly produces stable indoor counter messages in a small set of documented, compatible sizes.
- Turnaround control matters because signs are needed on a recurring operating or event schedule.
- One role owns file approval, printing, finishing, inspection, and supply replacement.
- There is enough clear workspace for feeding and receiving sheets without bending or interrupting other work.
- A test piece works in the real holder under the real viewing light without unacceptable glare, curl, thickness, or edge clearance.
When to skip or delay the machine
- Messages change faster than the finish earns its keep. A reusable acrylic holder, clear sleeve, clipboard, or dry-erase format may make updates simpler.
- Jobs vary widely in size or material. A local print or finishing service may handle occasional unusual work without forcing it through one desktop system.
- No one owns the routine. Unclear approval, pouch selection, shutdown, clearing, and inspection responsibilities create rework.
- The work area is too tight. Do not choose from the machine's body dimensions alone; the straight feed and exit path matters.
- The desired claim exceeds the evidence. Lamination does not by itself establish waterproofing, food-contact suitability, archival life, outdoor suitability, or compliance.
Compare four practical alternatives
Self-sealing sheets avoid owning a powered machine and may suit low-volume compatible signs, but alignment, finished thickness, and product instructions still matter. Reusable holders or sleeves separate the printed insert from the display and are often a better fit for frequent updates. Outsourced finishing can suit low or irregular volume, especially when sizes vary. Unlaminated replaceable inserts may be enough when the holder already provides the needed presentation and handling barrier.
First use the laminate-or-skip guide for one counter sign. If both clear-finishing routes remain viable, compare a desktop laminator with self-sealing sheets by batch volume, setup, alignment, fit, and storage. If a no-machine route wins, compare self-sealing sheets for small counter signs. For frequently changed messages, compare a printed insert with a dry-erase sign.
Build a one-batch trial
- List the next real batch by paper size, material, quantity, message life, and final holder.
- Choose a candidate only after its current documentation supports the intended pouch dimensions and thickness.
- Lay out the body, feed path, exit path, cooling area, supplies, and final inspection point.
- Follow the maker's instructions and finish one representative piece before the batch.
- Check sealed margins, flatness, glare, legibility, finished dimensions, and holder fit in the actual counter location.
- Record setup time, rejected pieces, cleanup, storage, and who handled each step. Use that evidence to buy, delay, outsource, or choose a reusable display.
The practical bottom line
A desktop laminator earns its place through repeatable compatible work, not through the appeal of owning another office tool. Track suitable volume, verify every material combination, measure the whole operating path, assign an operator, and test the finished sign in its real display. If those pieces do not line up, a reusable holder, self-sealing sheet, or outside service is the clearer route. Continue with the small-business sign planning guide when message, placement, viewing distance, or update ownership is still undecided.