 The Good Sign Company
Concealed Sign-Mounting Guide
Best French cleat kits for heavy wall signs: choose from known facts, not guesses.
A French cleat can spread attachment points across a rigid sign and leave the mounting hardware mostly concealed. That does not make every kit suitable for every “heavy” sign. Start with the sign maker’s verified weight and back construction, identify the wall substrate, and compare only kits whose current instructions cover that combination.
Disclosure: As an Amazon Associate, we may earn from qualifying purchases and approved partner referrals.
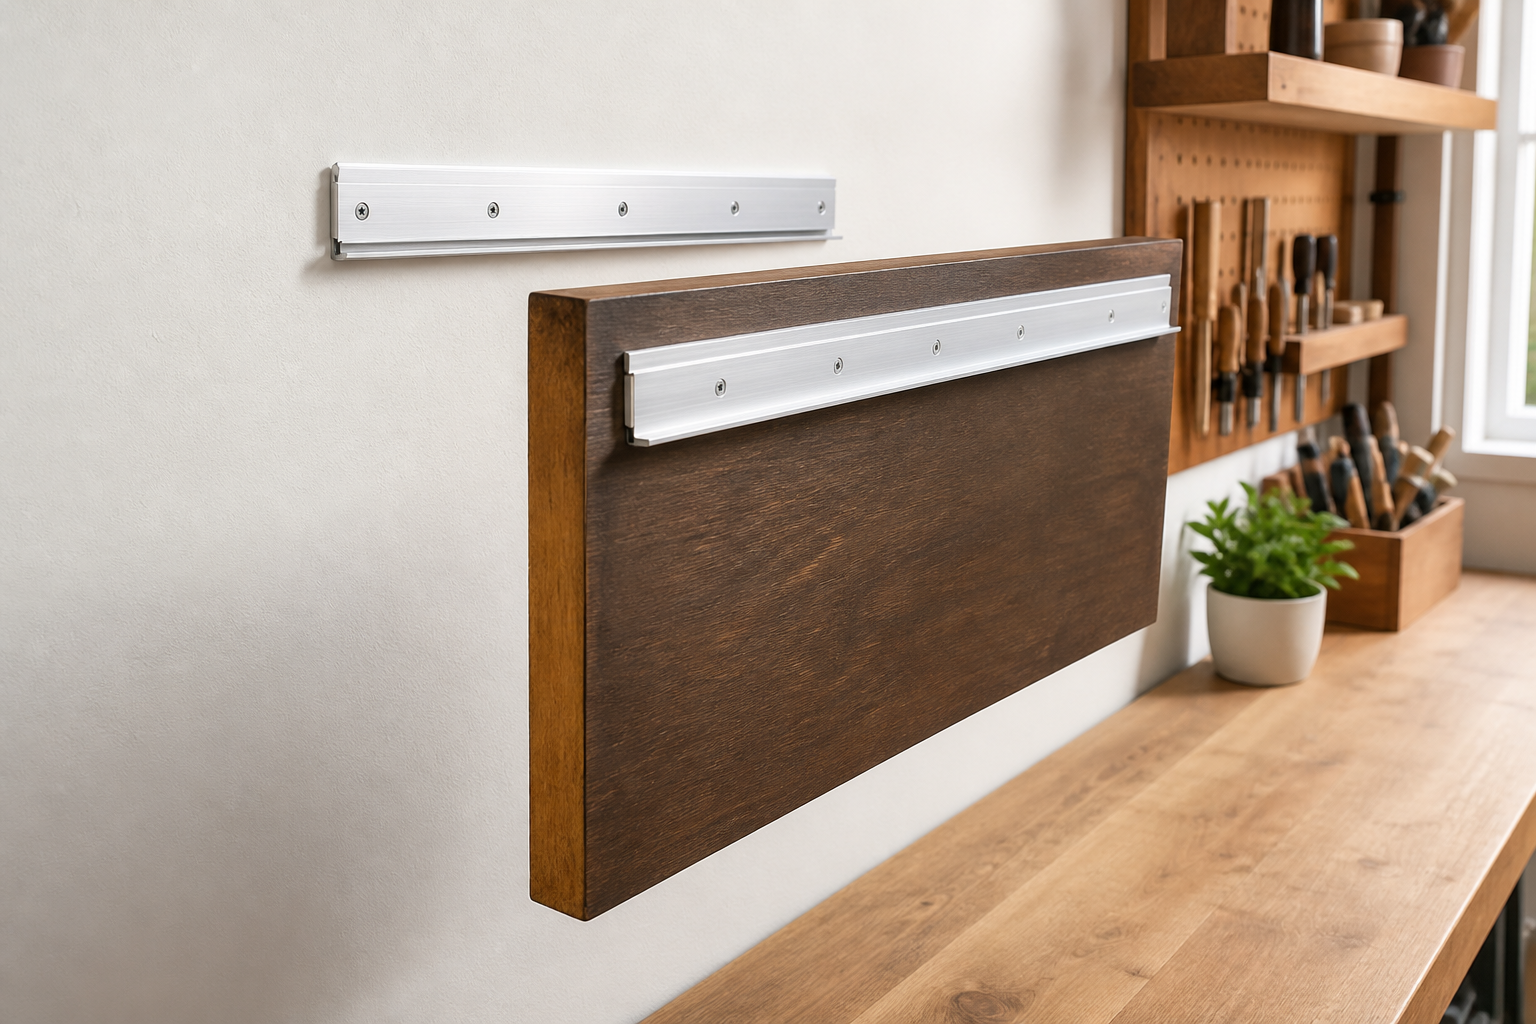
Category comparison
Compare complete two-piece cleat kits after you verify the sign and wall.
Look for a rail length that fits the usable back of the sign, current manufacturer instructions, a clearly stated rating with conditions, and hardware appropriate to the actual wall substrate. A category listing is a starting point, not proof that a particular kit fits.
Best French Cleat Categories by Sign Situation
These are fit-based categories, not named winners or hands-on rankings.
- Long aluminum rail kit: best for a wide, rigid sign with usable back space. A longer rail can distribute attachment points, but it must sit flat on the sign and wall. Verify rail engagement, hole layout, fastener requirements, and the maker’s stated conditions.
- Short metal cleat pair: best for a compact rigid sign. This can suit a narrower back panel when the verified sign weight and wall attachment fall within the current instructions. It leaves less room for side-to-side leveling.
- Interlocking wood cleat: best when it is designed into the sign. A sign maker or qualified installer can size and attach a wood cleat as part of the structure. Do not add one to thin, split, hollow, or unknown backing without confirming the construction.
- Cleat kit with a bottom spacer: best when the sign must sit parallel to the wall. The spacer should match the cleat stand-off so the lower edge does not rock or lean. Confirm that it will not cover vents, wiring access, or labels.
- Professional mounting plan: best when weight, backing, or substrate is uncertain. Unknown masonry, metal studs, fragile finishes, hidden services, or a sign above people are reasons to pause and get qualified help.
Selection Criteria That Matter
- Verified sign weight: use the maker’s documented weight or weigh the finished sign accurately. Do not choose from adjectives such as “large” or “heavy.”
- Back construction: establish whether the attachment area is solid wood, a structural frame, a composite panel, acrylic, metal, or a hollow assembly. The sign-side screws need suitable material and depth.
- Current rated capacity: read the exact kit instructions and rating conditions. Rail length, fastener count, substrate, installation method, and safety factors may affect what the rating means.
- Rail length and engagement: both rails need enough clear, straight space to interlock fully without striking a frame lip, cable, transformer, or other hardware.
- Wall substrate: drywall over wood studs, drywall over metal framing, masonry, and other walls require different decisions. Included fasteners are not automatically correct for your wall.
- Leveling and removal: check whether the sign can shift sideways after hanging, how it is kept from lifting, and whether ceiling or trim clearance allows it to be removed.
- Installation access: confirm safe tool access and scan for concealed utilities before drilling. Follow the product, sign-maker, and fastener instructions rather than a generic online shortcut.
A Practical Comparison Framework
- Record the finished sign’s verified weight, dimensions, material, and sign-side attachment area.
- Identify the wall construction and any studs or solid attachment points without assuming what is behind the finish.
- Remove kits whose current instructions do not explicitly fit the known weight, substrate, or required fastener layout.
- Compare the remaining rail lengths with the clear space on the sign back and the available wall attachment locations.
- Plan bottom spacing, anti-lift restraint if specified, cable clearance, and the vertical lift needed for future removal.
- Stop if any key fact remains unknown or the installation location raises the consequence of failure.
For a broader view of anchors, strips, frames, and other systems, use the sign mounting supplies guide. If you are deciding between concealed rear support and visible through-panel hardware, compare French cleats and standoff mounts before selecting a kit. If the wall is hollow drywall, review the decision limits in our hollow-drywall mounting guide. For lighter wood decor, compare the options in the wooden-sign hanging hardware guide.
Who Should Skip a French Cleat Kit
- Skip self-installation when the sign weight, internal structure, wall substrate, or safe fastener locations are unknown.
- Skip a cleat when the sign back is flexible, thin, crumbling, hollow, or lacks a confirmed structural attachment zone.
- Skip a generic kit when the sign includes internal lighting, wiring, service panels, ventilation, or a maker-specified mounting system.
- Skip the project when the required lift-on clearance is blocked by a ceiling, shelf, trim, or other fixed object.
- Skip DIY installation above seating, beds, customer areas, valuable equipment, or busy paths when failure could cause serious harm or loss.
- Do not treat this buying framework as engineering, code, landlord, lease, or workplace-safety approval. Follow current instructions and consult the relevant qualified professional or authority when needed.
The Practical Bottom Line
The best French cleat kit is not the one with the largest headline number. It is a complete system whose current documentation fits the sign’s verified weight and structure, the known wall substrate, the planned fasteners, and the available rail engagement. If those facts do not line up cleanly, pause rather than improvise.