 The Good Sign Company
Retail label-holder buying guide
Best slatwall sign holders for changeable retail labels
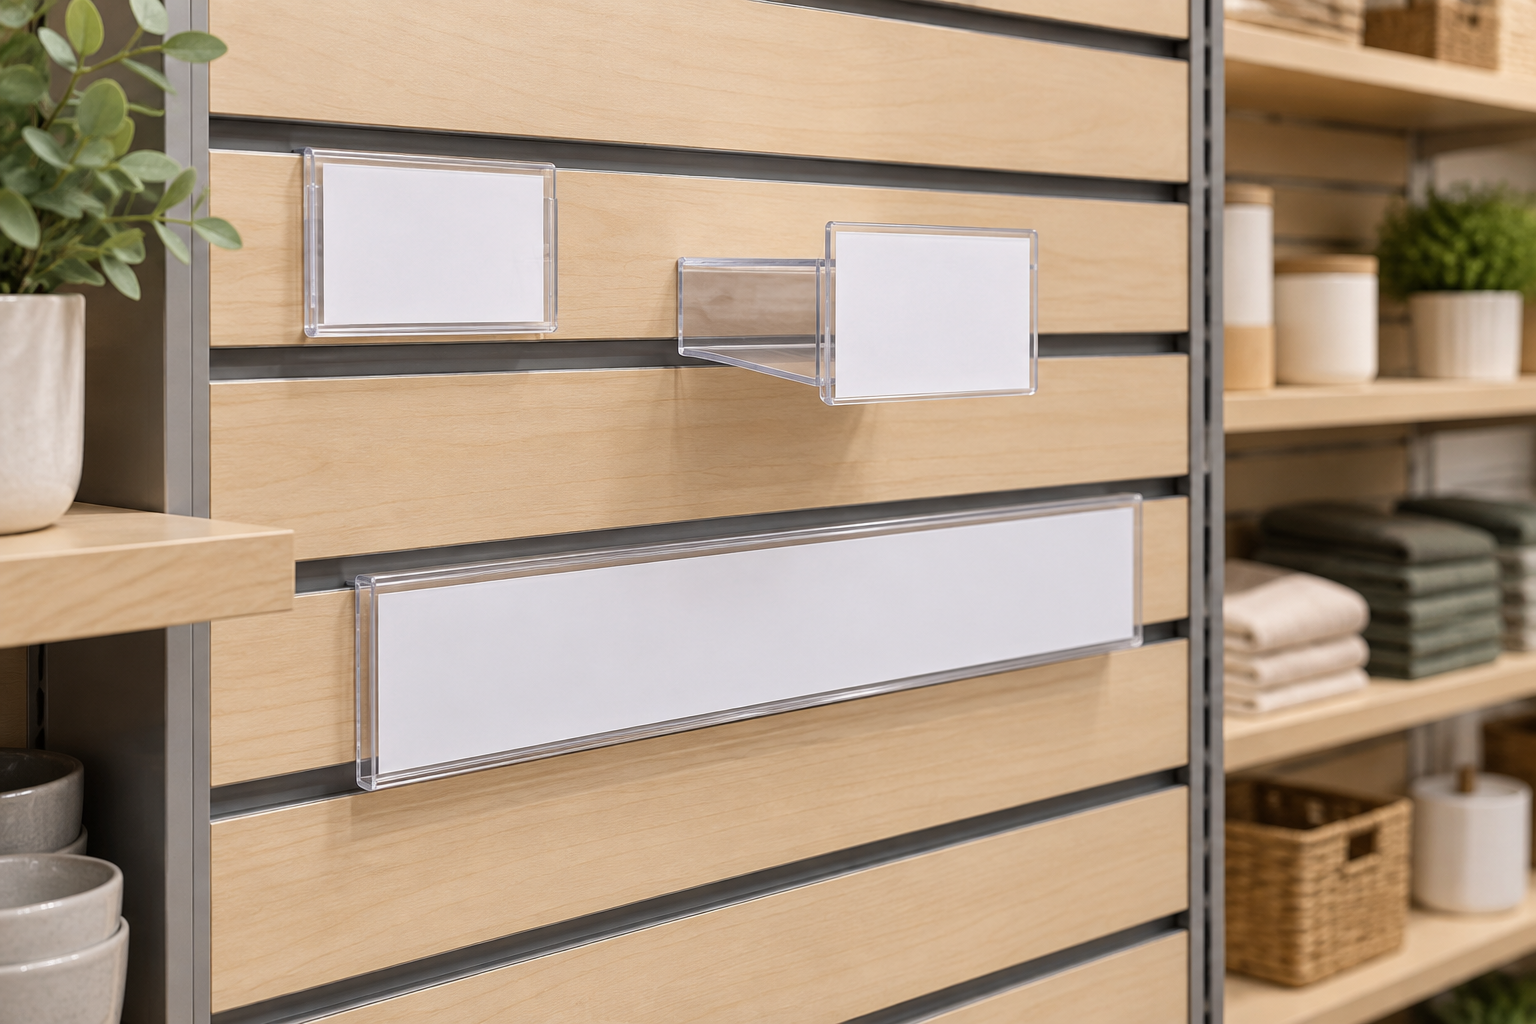
The best slatwall sign holder is the one documented for your panel profile, sized for the finished insert, and easy for staff to reload without disturbing merchandise. A flush pocket suits compact labels, a projecting holder improves side-angle visibility, and a longer strip can group a category message—but only after fixture compatibility is confirmed.
This guide covers indoor retail labels and category cards attached to an existing slatwall fixture. If the host panel is still undecided, first compare gridwall and slatwall sign holders; the attachment hardware is not interchangeable by default.
Disclosure: As an Amazon Associate, we may earn from qualifying purchases and approved partner referrals.
Compare formats after identifying the slatwall system
Check the panel or insert maker's documentation for compatible attachment profiles. Then verify the holder's exact insert and visible-area dimensions, loading edge, projection, orientation, included parts, and intended indoor use. A product photo alone cannot prove fit.
Best holder format by label job
These are use-case categories, not named-product winners or hands-on rankings.
- Flush clear pocket: best for compact labels close to merchandise. It keeps projection low and protects the insert from routine handling, but glare and a tight loading edge can slow changes.
- Projecting card holder: best for a label that must be noticed from an aisle angle. Projection can improve visibility, but it also occupies aisle-side space and is easier to bump.
- Angled holder: best for labels read from above or below the groove. The angle should match the actual eye line; it is not automatically more readable.
- Long insert strip: best for one category message across a defined product group. It can reduce label clutter, but it needs a matching insert workflow and enough uninterrupted panel width.
- Freestanding or shelf-edge holder: best when slatwall compatibility is uncertain. It avoids forcing unmatched hardware into the panel and may be easier to relocate with the merchandise.
Confirm the panel before shopping for holders
“Slatwall” describes a family of panel systems, not one universal groove. Identify the panel manufacturer or fixture specification when possible. Record the groove spacing, insert or channel details, and any load or accessory guidance supplied for the installed system. Do not bend, force, or modify a holder to make an uncertain attachment fit.
If the fixture identity is unknown, remove an existing approved accessory only if the store's procedure permits it and compare its attachment geometry with the documented replacement. Otherwise, ask the fixture supplier or facilities contact to identify the system. A generic category listing is not compatibility evidence.
Measure the finished insert and visible area separately
Start with the real label content. Print a full-size sample, trim it to the intended dimensions, and check whether the product specification describes the insert size or only the holder's outside size. Clear pocket borders, lips, and attachment parts can reduce the visible area.
Keep product name, category, or short instruction inside the reliably visible region. If a price or detail changes often, decide whether staff will replace the whole card or slide a smaller update into a separate area. Avoid designing an insert around dimensions that have not been confirmed.
Choose the loading path for the update routine
Top-loading pockets can be convenient when there is open space above the holder. Side-loading pockets may work better beneath a shelf or another accessory, provided merchandise does not block the opening. Front-loading or clip formats can speed a change but leave more of the card exposed.
Rehearse one complete update at the proposed location. Staff should be able to remove the old insert, align the new one, and verify the message without unloading the display. If every change requires moving products or neighboring hardware, the label system will create avoidable work.
Compare projection and viewing angle
A flush holder works when shoppers face the wall and stand close. A projecting or angled holder can help where people approach along the aisle, but added reach affects clearance and can increase contact with bags, carts, hands, or restocking activity. Measure from the slatwall face to the holder's outermost edge—not just the label face.
Test a paper mockup from the intended approach path. Check nearby shelves, hooks, merchandise, doors, and staff work zones. Store operations and the property or fixture owner should approve any placement that changes clearance or interferes with the display system.
Build a repeatable label system
- Standardize one or two verified insert sizes instead of creating a different card for every position.
- Keep an editable label template with safe margins that match the measured visible area.
- Name the person responsible for approving copy, printing replacements, and removing expired labels.
- Store spare inserts flat and keep unused holders sorted by documented profile and size.
- Audit the display after resets so an old label does not remain beside new merchandise.
Selection checklist
- Identify the slatwall panel or approved accessory profile.
- Define the label's one job and normal viewing direction.
- Measure the finished insert, visible area, and maximum projection.
- Choose flush, projecting, angled, or long-strip format.
- Confirm loading access with adjacent products and fixtures in place.
- Verify included parts, maker instructions, and indoor-use guidance.
- Test one holder and full-size printed insert before standardizing a larger display.
Who should skip a slatwall sign holder?
- Skip it when the panel type or attachment profile cannot be identified.
- Skip it when a shelf-edge, tabletop, magnetic, or clip-on holder follows the merchandise more naturally.
- Skip a clear pocket when glare prevents the label from being read at the normal approach angle.
- Skip a projecting format where it intrudes into circulation or routine restocking space.
- Skip fixed-size inserts when the message length and layout change constantly; use a more flexible display method.
Bottom line
Choose a slatwall label holder in this order: verified panel compatibility, insert fit, loading access, projection, and viewing angle. Start with one real fixture position and one full-size card. A small pilot exposes fit and workflow problems before they spread across the retail display.
Next, compare gridwall and slatwall attachment systems, review gridwall holder formats, or use the broader small-business sign planning guide.