 The Good Sign Company
Reusable Event-Sign Transport Guide
Best storage bags for event signs and easels: measure the packed kit first.
A reusable welcome sign, frame, or compact easel is easier to transport when every piece has a defined place. Start with the kit you actually carry: measure its longest packed dimensions, note projecting hardware and finish-sensitive surfaces, then compare current bag specifications and care instructions. The bag is part of a packing system, not a promise that a fragile sign cannot be damaged.
Disclosure: As an Amazon Associate, we may earn from qualifying purchases and approved partner referrals.
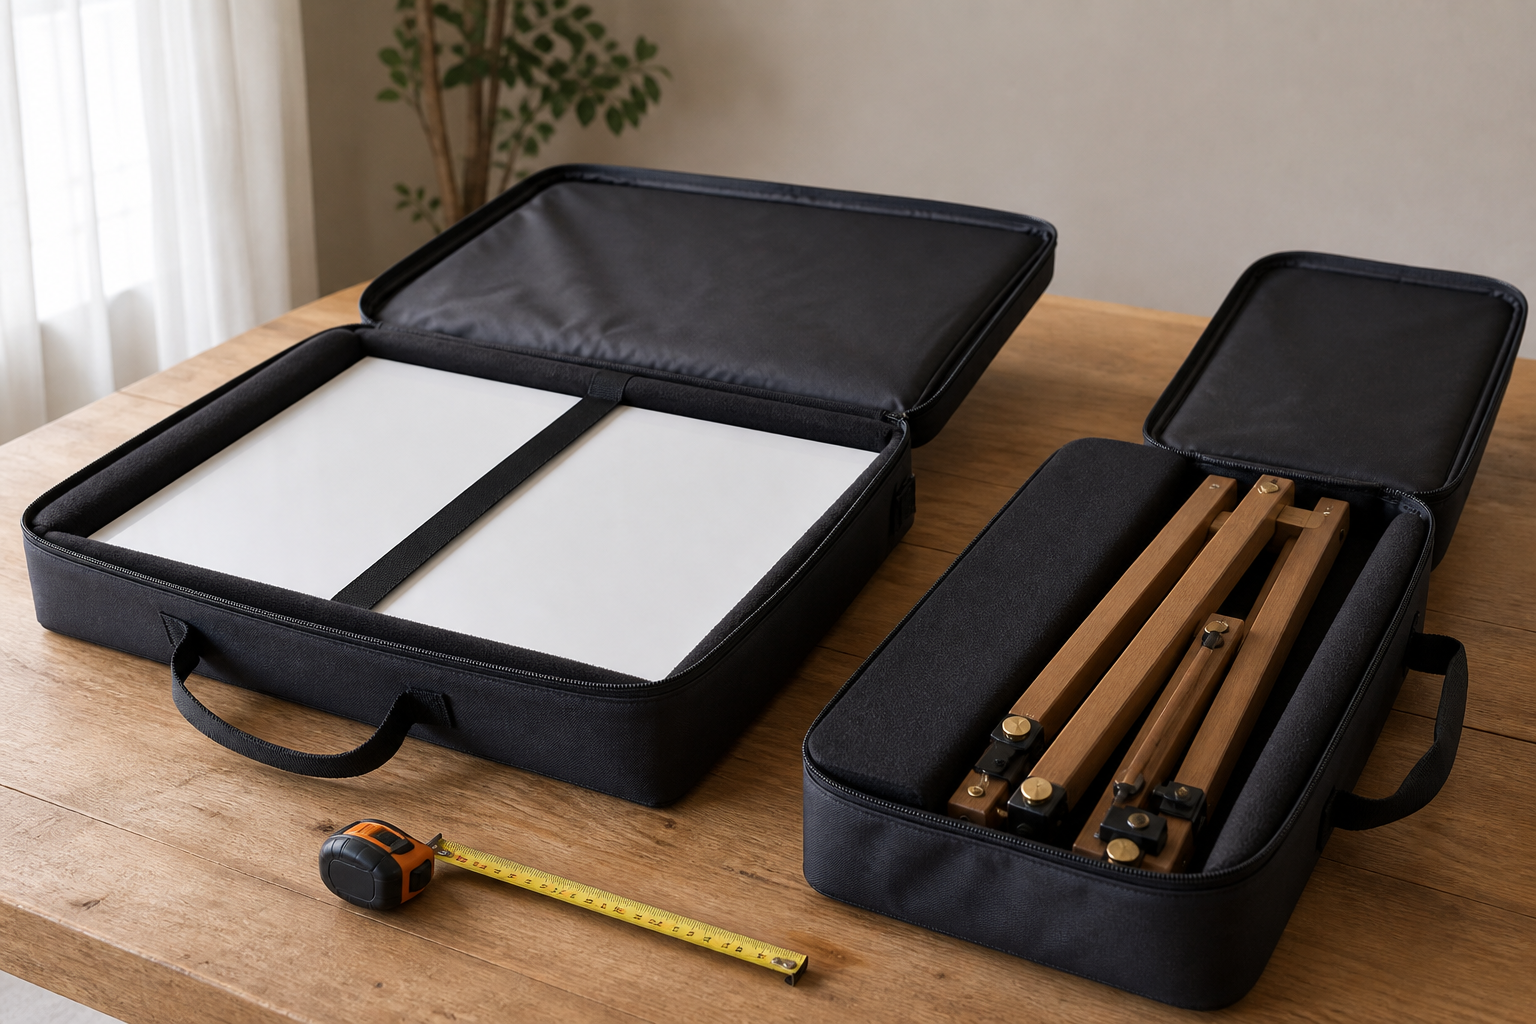
Category comparison
Compare bags against a written packing list.
Record the packed length, width, depth, and weight of each sign, frame, stand, and loose part. Then verify current interior dimensions, closure, handle arrangement, divider or padding details, cleaning guidance, and storage cautions. Product photos alone cannot confirm fit.
Best Bag Categories by What You Carry
These are use-based categories, not named winners or hands-on rankings.
- Flat panel carry case: best for one measured rigid sign or frame. Look for published interior dimensions, full-edge closure, handle placement, and enough depth for the complete panel without forcing trim or hardware.
- Folding easel bag: best for a compact support with a known packed shape. Verify the folded length and widest joint, then check whether knobs, feet, and clamps need their own sleeve or restraint.
- Divider case: best for several small rigid panels. Compare divider placement and usable compartment dimensions. Do not assume a soft divider prevents surfaces or projecting hardware from contacting one another.
- Long hardware bag: best for stand rails, poles, or banner-style supports. Check the longest component, end shape, closure length, and whether loose fittings can be contained separately.
- Separate matched bags: best when sign faces and support hardware should not share a compartment. Two measured bags can make inventory and loading clearer than one oversized case.
Selection Criteria That Matter
- Usable interior dimensions: compare the manufacturer's stated inside measurements—not only an exterior product title—with the packed kit in the same orientation.
- Clearance around edges: allow for frames, corner blocks, feet, knobs, latches, cords, and any part that projects beyond the main panel.
- Separation: identify which finished faces, acrylic surfaces, printed panels, or metal fittings should not rub against one another, and use only compatible clean layers or sleeves.
- Closure: compare zipper or flap access with the real loading sequence. A technically large bag is a poor fit if the opening cannot accept the widest part without bending or scraping it.
- Handles and carrying orientation: use the documented handle arrangement and load guidance. Check whether the packed sign can shift toward one edge when the bag is lifted.
- Cleaning guidance: event floors and vehicles can transfer dust or moisture. Follow the bag and sign makers' current care instructions instead of improvising cleaners.
- Storage conditions: keep the packed kit in conditions appropriate for every component. A carry bag does not establish safe temperature, humidity, stacking, or long-term storage limits.
A Practical Comparison Framework
- List every panel, frame, easel, stand part, cable, fastener, tool, and printed insert that travels with the display.
- Fold or disassemble each item exactly as its current instructions direct, then measure maximum length, width, depth, and weight.
- Mark fragile finishes, projecting hardware, loose pieces, and items that should travel separately.
- Remove bags whose published interior dimensions, opening, or load guidance do not clearly cover the packed item.
- Compare the remaining closure, compartments, divider details, handles, packed bulk, and care instructions.
- Run a complete indoor packing and loading rehearsal, then create a simple contents checklist for the return trip.
If the display support is still undecided, start with the floor easel guide or compare tabletop sign stands. For the sign itself, use the small-reception welcome sign guide. The broader mounting and display supplies guide helps separate transport accessories from display hardware.
Who Should Skip a General-Purpose Storage Bag
- Skip any bag when the listing does not provide enough interior-size and load information to verify the packed fit.
- Skip one shared compartment when sharp or projecting hardware can contact a finished sign face.
- Skip soft luggage as a substitute for a purpose-specified shipping case when a carrier, venue, rental company, or sign maker requires a different transport method.
- Skip forcing a framed, acrylic, glass, lighted, or wired sign into a tight opening. Follow the sign maker's packing and handling instructions.
- Skip long-term storage inside a bag unless the instructions for the bag and every component support the actual environment and packing method.
- Do not treat this guide as shipping, venue-safety, insurance, accessibility, or legal advice.
The Practical Bottom Line
The useful bag is the one whose documented interior dimensions, opening, closure, handles, and care guidance fit a measured packing plan. Separate delicate faces from easel hardware, keep loose parts inventoried, and test the entire load before event day. Choose from current facts about your kit and the bag—not from a category label or a protection claim. Carrying only one or two measured rigid boards? Compare fitted soft sleeves for flat event boards. If the kit mixes rigid panels, rolled graphics, and stand parts, use the portable vendor sign case guide to plan compartments and separation.