 The Good Sign Company
Counter sign holder buying guide
How to Choose top-loading acrylic sign holders for tight counters
The best top-loading acrylic holder fits the finished insert, leaves a clear vertical replacement path, and keeps its entire base inside a measured counter zone. It is a useful format when a terminal, organizer, wall, or neighboring display blocks side access—but only when staff can still lift the insert straight up without moving equipment.
This is a fit-based category guide, not a hands-on ranking of named products. If loading direction itself is unresolved, start with the top-loading versus side-loading comparison.
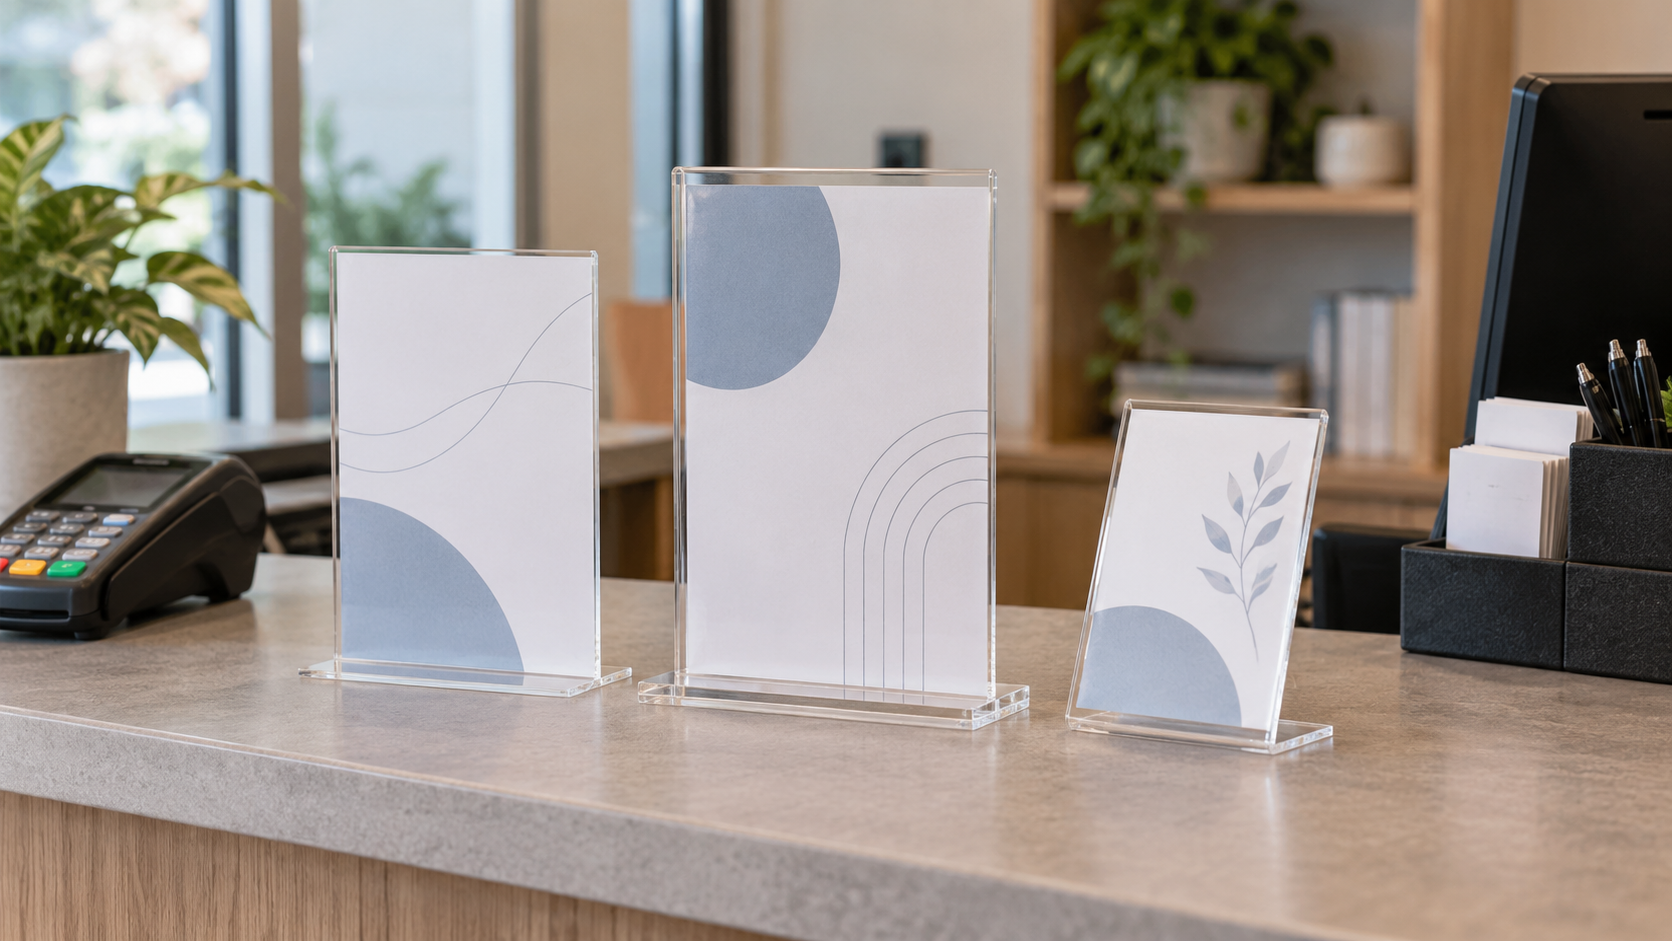
Compare top-loading holders by measured fit
Use the finished insert dimensions, visible opening, outside width and height, complete base depth, viewing faces, and required loading clearance to screen listings. Confirm every dimension and care instruction on the current product page before ordering.
How to Choose holder format by counter job
These categories describe useful fits. They do not establish a universal winner or guarantee stability.
- Upright L-shaped holder: best for one main approach. Its face can present a replaceable message toward a queue or check-in point. Measure the rearward base depth and confirm the loading slot is actually at the top.
- Upright T-shaped holder: best for two useful viewing directions. A double-sided insert can serve people on opposite sides, but the second face adds update work and may expose an irrelevant message toward staff. Compare L-shaped and T-shaped holders before paying for a second face.
- Slanted top-loading holder: best for close reading. The angled face can suit a visitor standing at the counter. Trace its deeper front-to-back footprint and test whether equipment hides it from the approach.
- Small card-size holder: best for one short nearby instruction. It can preserve working space, but it is not a substitute for a larger sign that must be noticed before someone reaches the counter.
Start with the finished insert, not a familiar paper label
Print the actual message at full size. Measure the finished sheet after trimming or lamination, then compare that measurement with the holder's documented insert capacity. Labels such as letter size, menu size, or photo size are not precise enough when margins and sleeves matter.
Also look for the visible area. Acrylic edges, folds, or a base lip can cover part of the sheet. Keep important type, arrows, and QR codes away from any region the holder may obscure. If an insert will be laminated, confirm that its final thickness and dimensions fit rather than assuming the holder accepts it.
Measure the full upward loading path
Top loading saves side clearance; it does not eliminate clearance. Measure from the counter to the top opening, then add the distance needed to lift the entire insert free. Check shelves, pendant lights, wall cabinets, sneeze guards, monitor arms, and any overhanging ledge above or behind the holder.
Run the update exactly as staff would perform it. If a person must tilt the holder, disconnect a terminal, or move merchandise each time, the location is not truly top-loading friendly. A side-loading holder in a different position—or a front-access format—may produce a simpler routine.
Trace the base before judging counter fit
A narrow front view can hide a deep base. Mark the complete outside footprint with removable paper or painter's tape, then operate the counter normally. Leave the payment terminal, scanner, pen cup, paperwork, cables, and package handoff zone in their real positions.
- Open drawers and cabinets that pass near the proposed location.
- Move a bag, folder, or purchase through the handoff route.
- Check that visitors can reach the terminal without brushing the holder.
- Keep controls, receipts, and staff sightlines clear.
- Do not treat a heavier-looking base in a photo as proof of stability; use documented dimensions and test the complete setup.
Choose one face or two deliberately
An L-shaped holder usually presents one primary face. A T-shaped holder can present two inserts or two visible sides. Map the actual approach directions before choosing. Two faces are useful only when both audiences need a message at that point.
If one face will point at a wall, monitor, or staff-only area, a single-sided profile may be the cleaner purchase. If two public approaches matter, decide whether both sides should carry the same message and assign someone to replace both inserts together.
Test glare and reading position with a paper mockup
Place the printed message at the proposed height and angle. View it from the queue, doorway, counter edge, and the point where the reader must act. Repeat the check under the lighting used during business hours. Clear acrylic can reflect windows and fixtures; relocation, a different face angle, or a matte insert may be more useful than increasing type alone.
This practical sightline test does not determine accessibility or regulatory compliance. Route regulated sign questions through the responsible authority or qualified professional for the site.
Plan cleaning and insert changes
Review the current maker's cleaning instructions before using any cleaner or cloth. Acrylic surfaces can show dust, fingerprints, and scratches, and care guidance varies. Remove paper before damp cleaning when the construction can channel moisture toward the insert, and let the holder dry before reloading it.
Keep the approved print file and a spare insert in a known location. For frequently changing messages, name the staff role responsible for replacing the sheet and checking that it sits squarely below the top edge.
When to skip a top-loading acrylic holder
- Skip it when overhead clearance is smaller than the complete insert-removal path.
- Skip it when the base overlaps payment, writing, scanning, packing, or handoff space.
- Skip a clear face when glare remains uncomfortable after a realistic placement test.
- Skip a two-sided format when only one approach needs the message.
- Skip an insert holder when the wording or layout is still changing too quickly to keep printed sheets current.
- Skip the purchase when current dimensions, loading method, insert capacity, or care guidance cannot be confirmed.
Final buying checklist
- Finished insert width, height, and thickness recorded
- Visible opening and covered margins confirmed
- Top opening verified from current product information
- Full vertical insert-removal path measured
- Complete base footprint traced on the working counter
- One or two viewing faces chosen from real approach paths
- Glare checked under operating light
- Cleaning instructions and update owner identified
Bottom line
Choose an upright L-shaped holder for one clear approach, a T-shaped holder when two useful faces justify the work, a slanted holder for close reading, or a small card holder for one short nearby instruction. In every case, the best fit is the one whose documented insert capacity, visible area, base depth, and complete upward loading path work in the measured counter—not the holder that looks smallest in a listing photo.
Continue with the small-business sign planning pillar, compare broader desk sign holder formats, or decide between portrait and landscape orientation.