Acrylic Sign Hardware Guide
Best standoff mounts for acrylic signs: match the panel before the finish.
The best starting category for a drilled indoor acrylic panel is a through-grip standoff kit whose published panel-thickness range, hole requirement, barrel depth, and wall fasteners all match the actual project. Edge-grip mounts can avoid holes in the panel, while low-profile barrels suit locations where a deep wall gap would look awkward. The finish comes last: compatibility determines whether a kit belongs on the shortlist.
Disclosure: As an Amazon Associate, we may earn from qualifying purchases and approved partner referrals.
Category route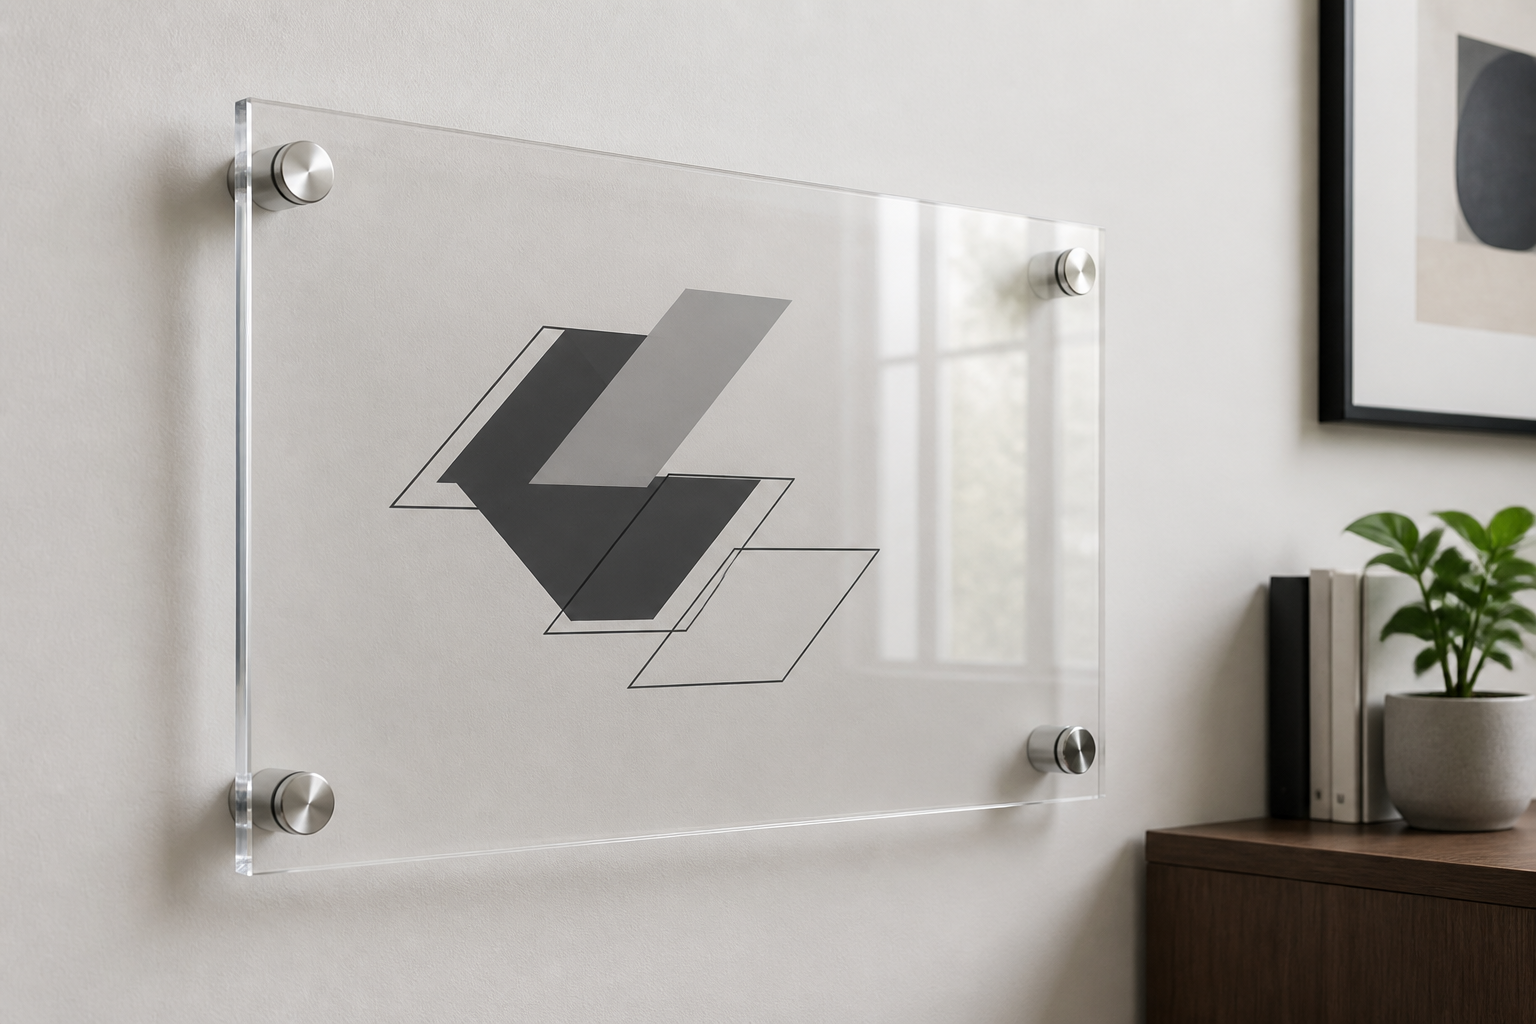
Best overall starting format
Start with through-grip standoffs for a pre-drilled acrylic panel.
This common format passes a fastener through each panel hole into a barrel fixed to the wall. Compare the maker's panel-thickness range, required hole diameter, cap and barrel dimensions, included pieces, and installation instructions against the sign you already own.
Plan the whole mount: use the sign mounting supplies pillar to document the panel, wall, fastener, position, and installation limits together.
How we compare acrylic sign standoffs
This is a category comparison and buying framework, not hands-on testing or a ranking of current named products. A useful shortlist records the same facts for every kit:
- Panel fit: confirm panel thickness, total panel weight, hole diameter, hole position, and edge distance from the sign drawing or maker.
- Hardware geometry: record cap diameter, barrel diameter, barrel depth, thread or fastener arrangement, and the finished gap from wall to panel.
- Wall substrate: identify the actual wall construction and choose fasteners specified for that substrate and project—not merely the screws pictured with a kit.
- Complete kit: check the quantity of barrels, caps, sleeves or washers, wall screws, anchors, and any required driver or template.
- Panel protection: follow the hardware and sign maker's directions for sleeves, washers, tightening, hole clearance, and acrylic handling.
- Service access: make sure caps can be reached later for cleaning or panel changes.
Best standoff format by setup
Measure the panel before shopping
Do not estimate acrylic thickness from the edge or choose hardware from a product photo. Use the sign drawing, seller documentation, or a suitable measuring tool. Record finished weight and dimensions, center-to-center hole layout, each hole diameter, and the distance from hole edge to panel edge. If holes still need to be made, get fabrication guidance from the sign or acrylic supplier; this guide is not a drilling specification.
If you are still choosing the panel, the acrylic wall sign guide covers glare, contrast, wall scale, cleaning, and custom-versus-ready-made fit.
The wall fastener is a separate compatibility decision
A kit may include wall screws or anchors, but inclusion does not prove they fit every wall or the finished sign. Identify whether the points meet wood framing, hollow drywall, masonry, tile, paneling, or another assembly. Follow current instructions for the standoff, wall fastener, and substrate. Do not transfer a listed capacity from one fastener, wall, or laboratory setup to a different installation.
When a point lands on hollow drywall, continue with the hollow-drywall sign mounting guide. Pause for an appropriate installer when the substrate is uncertain, hidden utilities may be present, the sign is heavy or valuable, or the location is above a bed, seat, walkway, or work area.
Finish, depth, and cleaning change the final look
- Cap scale: large caps become part of the design; smaller caps still must match the required holes and assembly.
- Barrel depth: a deeper projection creates a stronger shadow line, while a shallow gap looks flatter and can be harder to clean behind.
- Finish: compare finishes in the room light without assuming the coating or base metal from appearance alone.
- Access: leave clearance to remove caps and support the panel during cleaning or replacement.
- Care: follow the sign maker's guidance and use the acrylic sign cleaning supplies guide before selecting cloths or cleaners.
Who should skip standoff mounts?
- Skip them when drilling is not allowed or the substrate and hidden conditions cannot be identified.
- Skip through-grip hardware when its required holes do not match the finished panel; do not enlarge acrylic holes casually.
- Skip edge-grip hardware when the maker's panel range or retention method does not match.
- Skip a deep barrel where the panel could be bumped along a narrow route.
- Skip a do-it-yourself installation for a heavy, overhead, exterior, powered, code-sensitive, or otherwise high-consequence sign.
- Consider a tabletop holder when moveability matters more than the floating-panel look.
The practical bottom line
For a typical pre-drilled indoor acrylic panel, start with through-grip standoffs and eliminate any kit whose stated panel range, hole requirement, barrel geometry, pieces, or wall-side installation do not match. Consider edge-grip hardware for an undrilled compatible panel and a low-profile barrel when projection is the main constraint. Verify the wall fastener separately and stop when the wall or panel facts are uncertain.
If the panel has not been fabricated, compare through-hole standoffs with edge-grip mounts before approving its hole drawing or edge-contact zones. If the sign uses multiple acrylic faces at shared mounting points, use the layered acrylic sign spacer guide to document the entire stack and inter-panel hardware. If the sign itself is not fixed yet, compare standoff mounts with French cleats by panel construction, visible hardware, projection, removal, and service access. Continue with the sign mounting supplies guide, or Browse category: browse acrylic sign standoff hardware on Amazon.
 The Good Sign Company